Chewy Crinkle-Top Brownie Cookies
Everything you love about a chewy, fudgy brownie in cookie form! With a double dose of chocolate in the form of melted semisweet chocolate and Dutch-process cocoa powder, and a hint of espresso powder to deepen the chocolate flavor...
 Fransebas
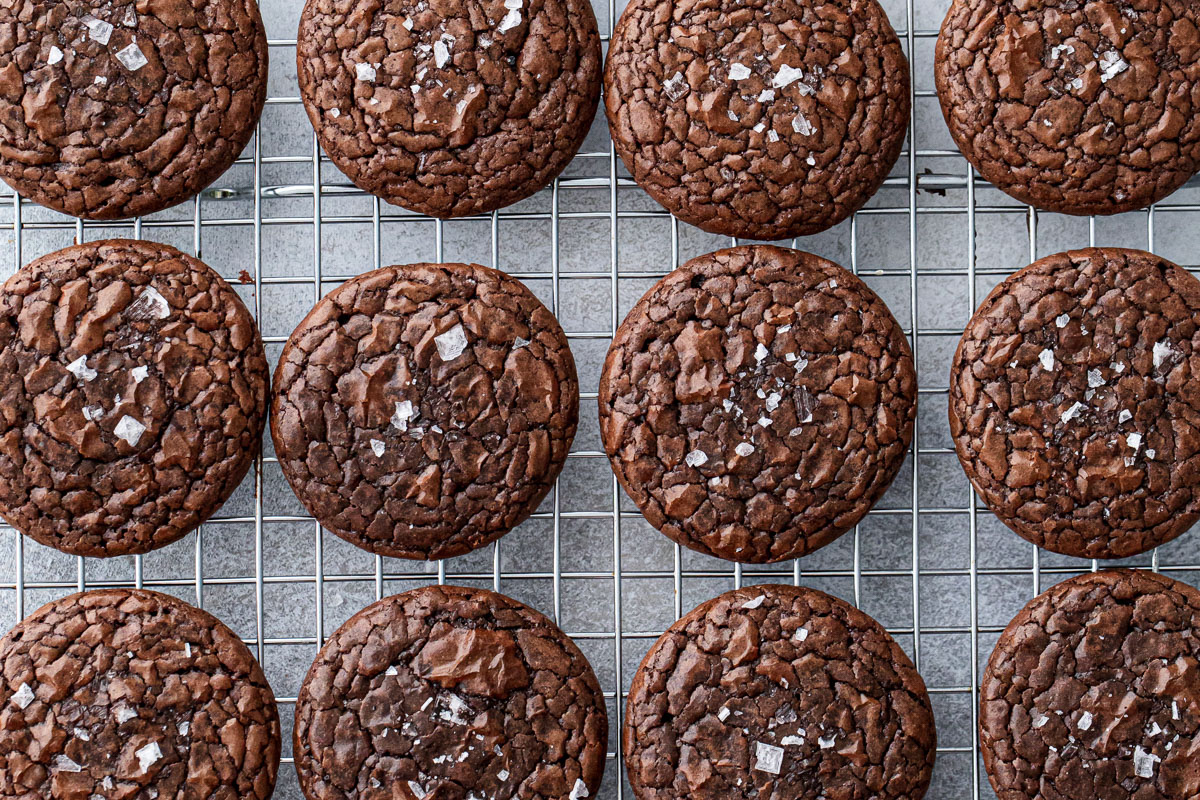
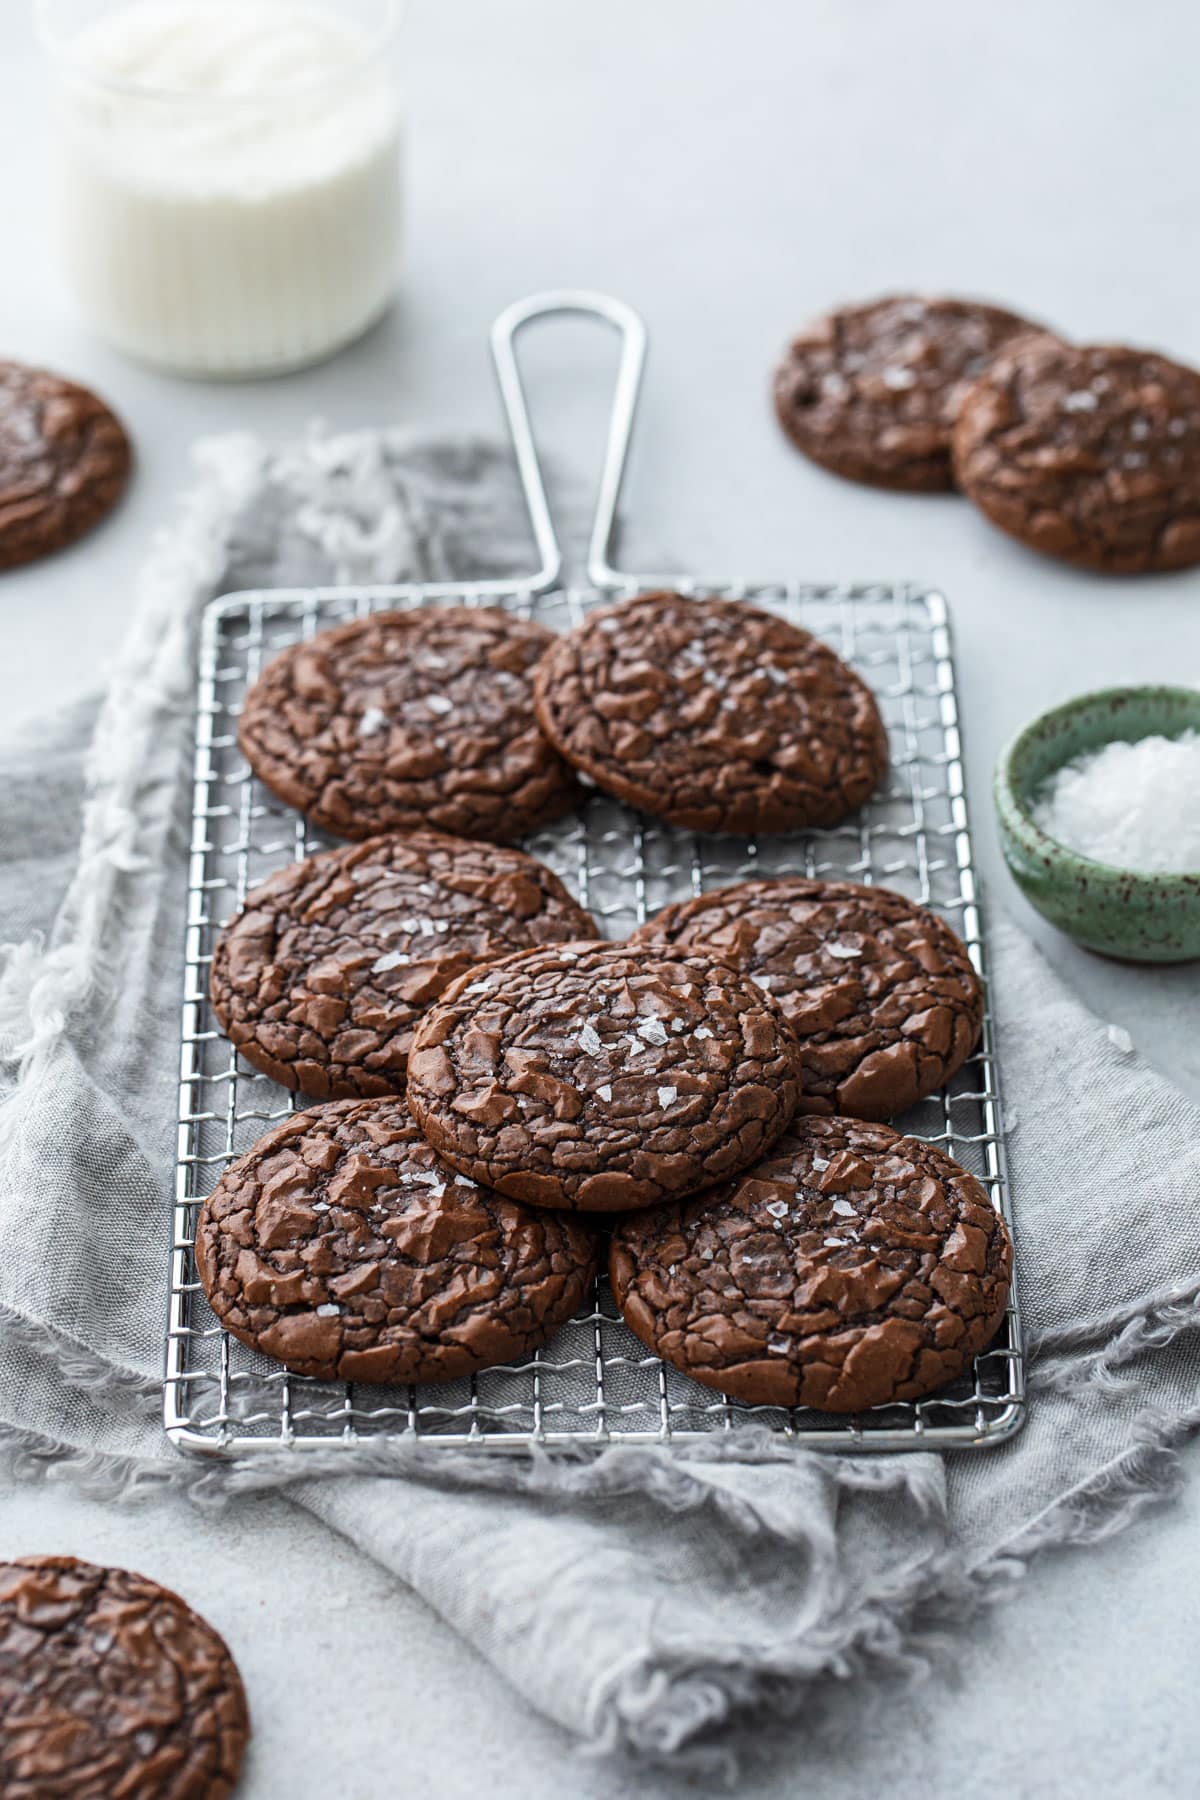
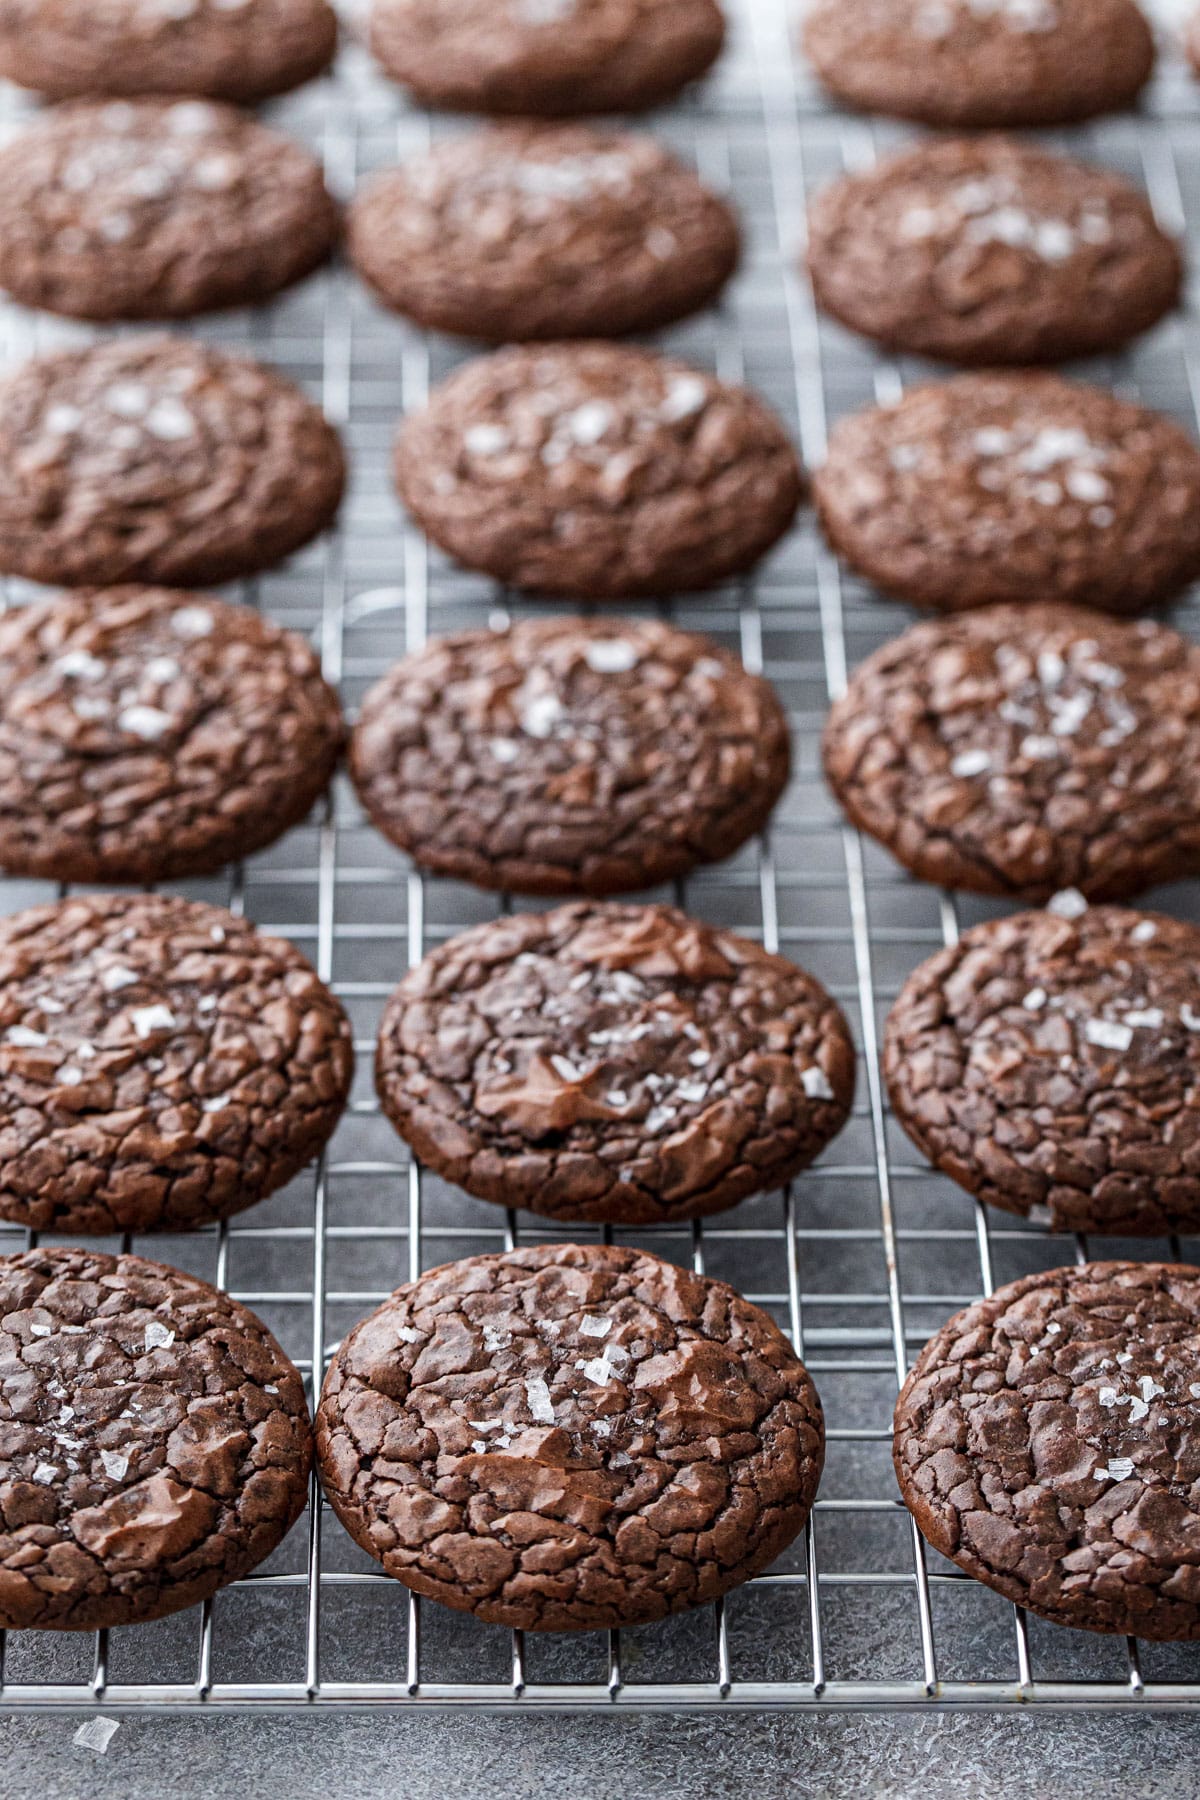
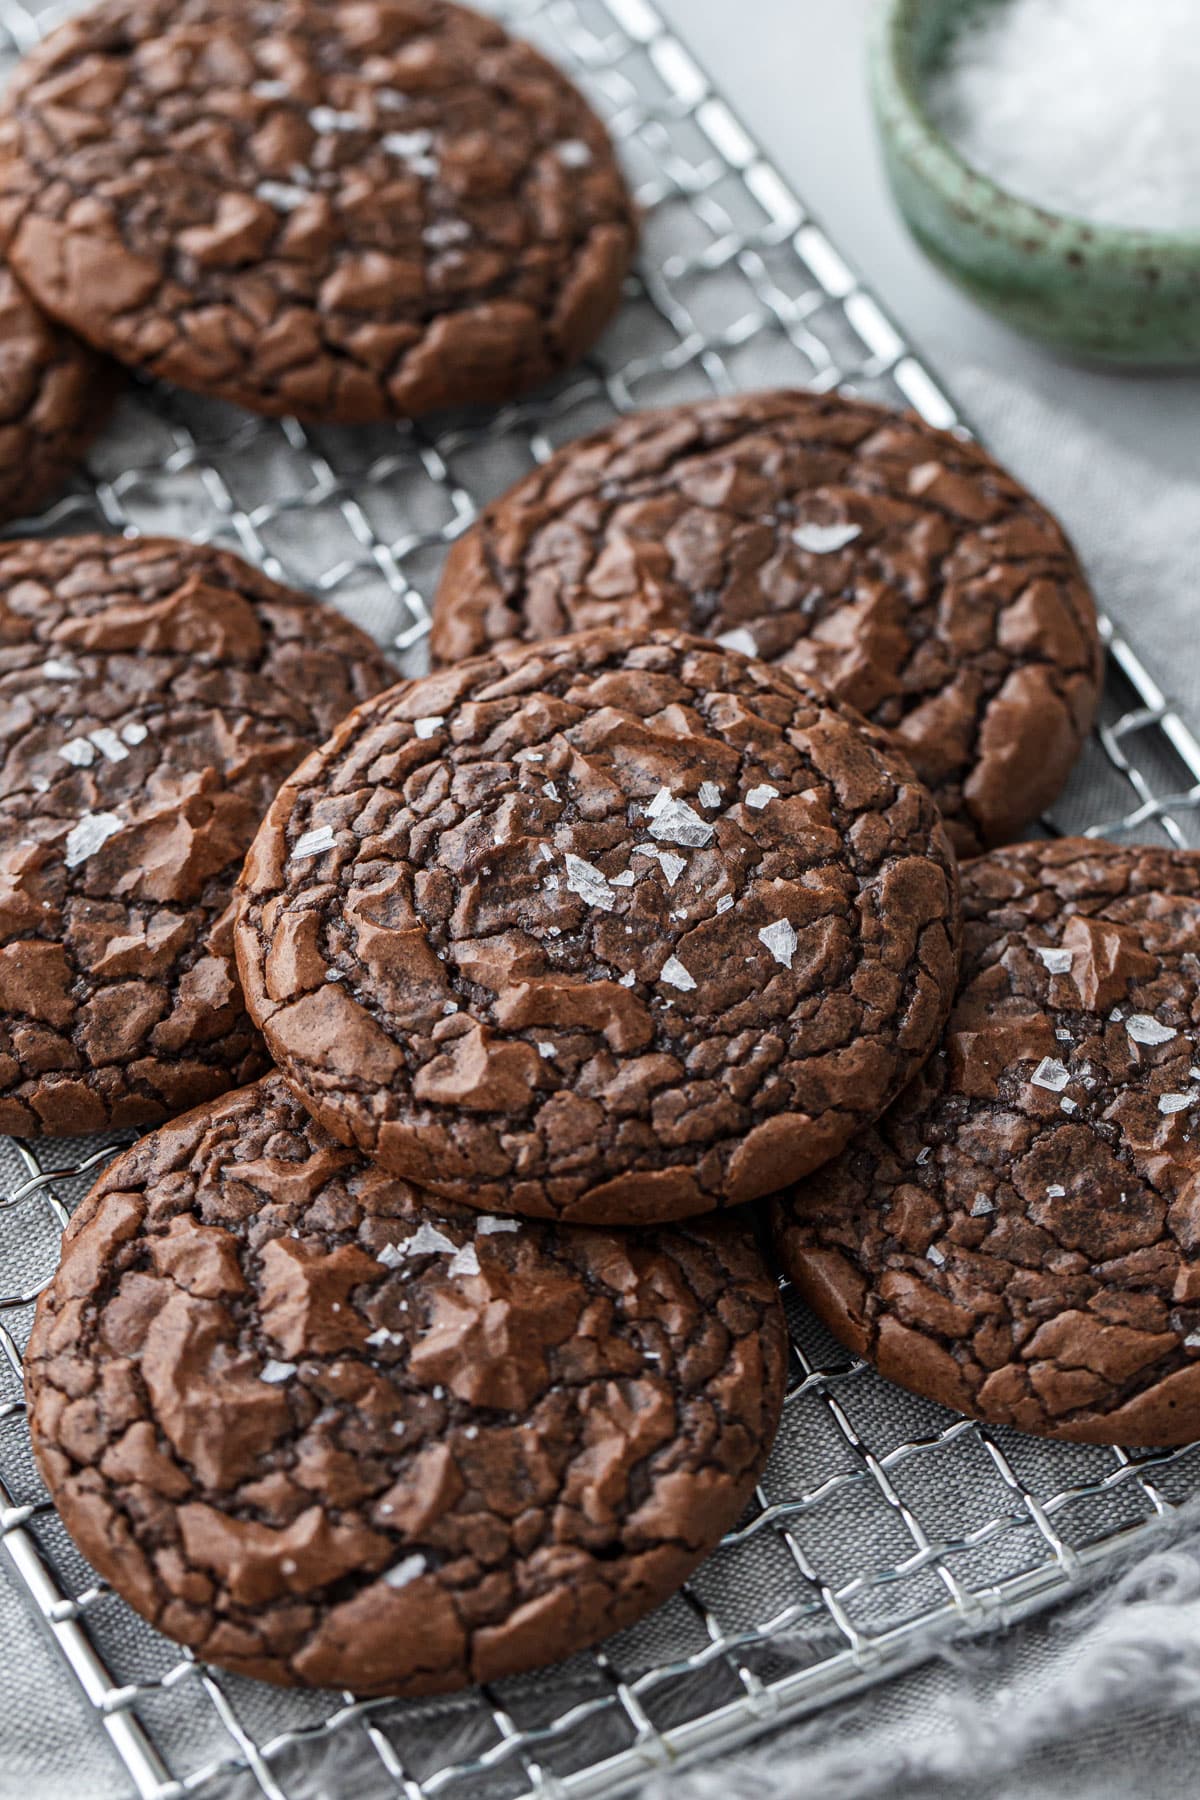
Everything you love about a chewy, fudgy brownie in cookie form! With a double dose of chocolate in the form of melted semisweet chocolate and Dutch-process cocoa powder, and a hint of espresso powder to deepen the chocolate flavor even more, these (no chill!) chewy chocolate brownie cookies come out of the oven with paper-thin, shiny, crinkly tops. A sprinkle of flaky sea salt is the perfect finish.
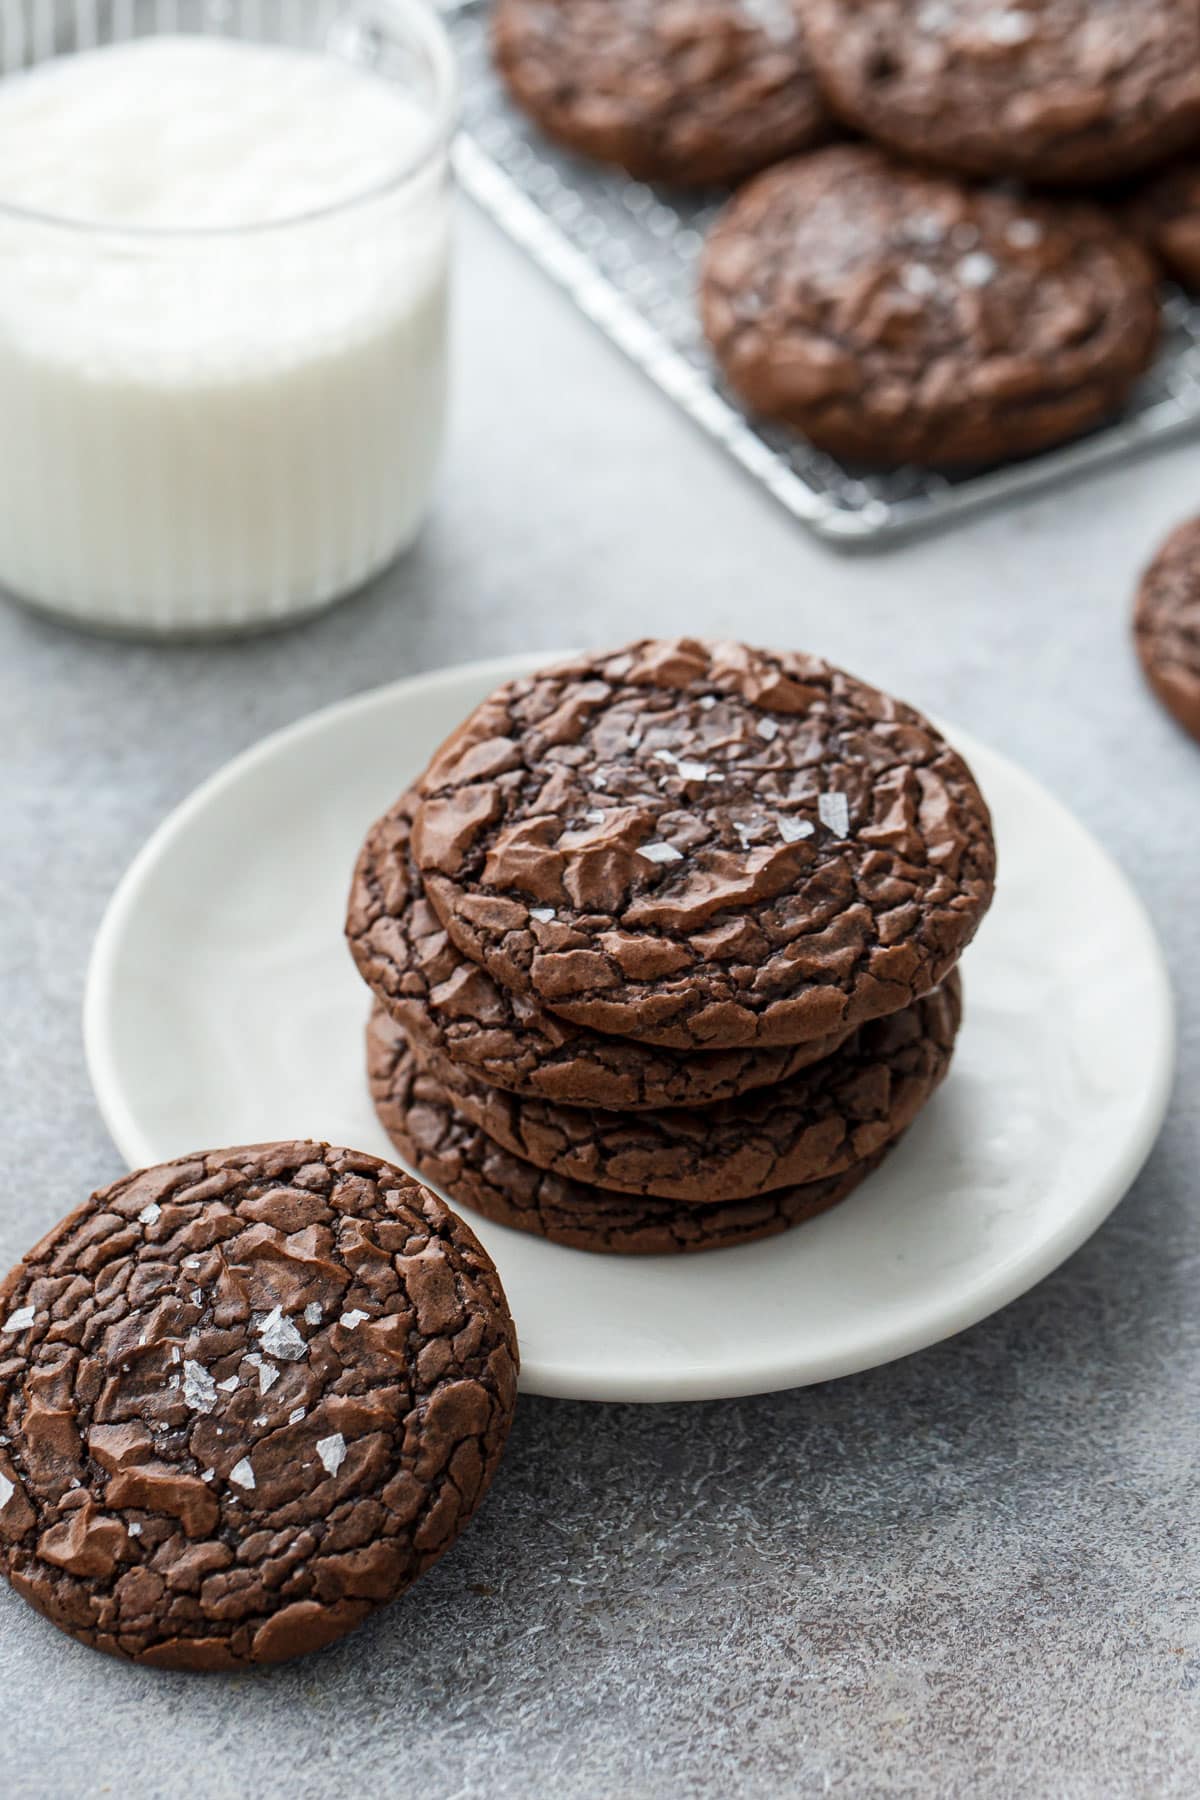
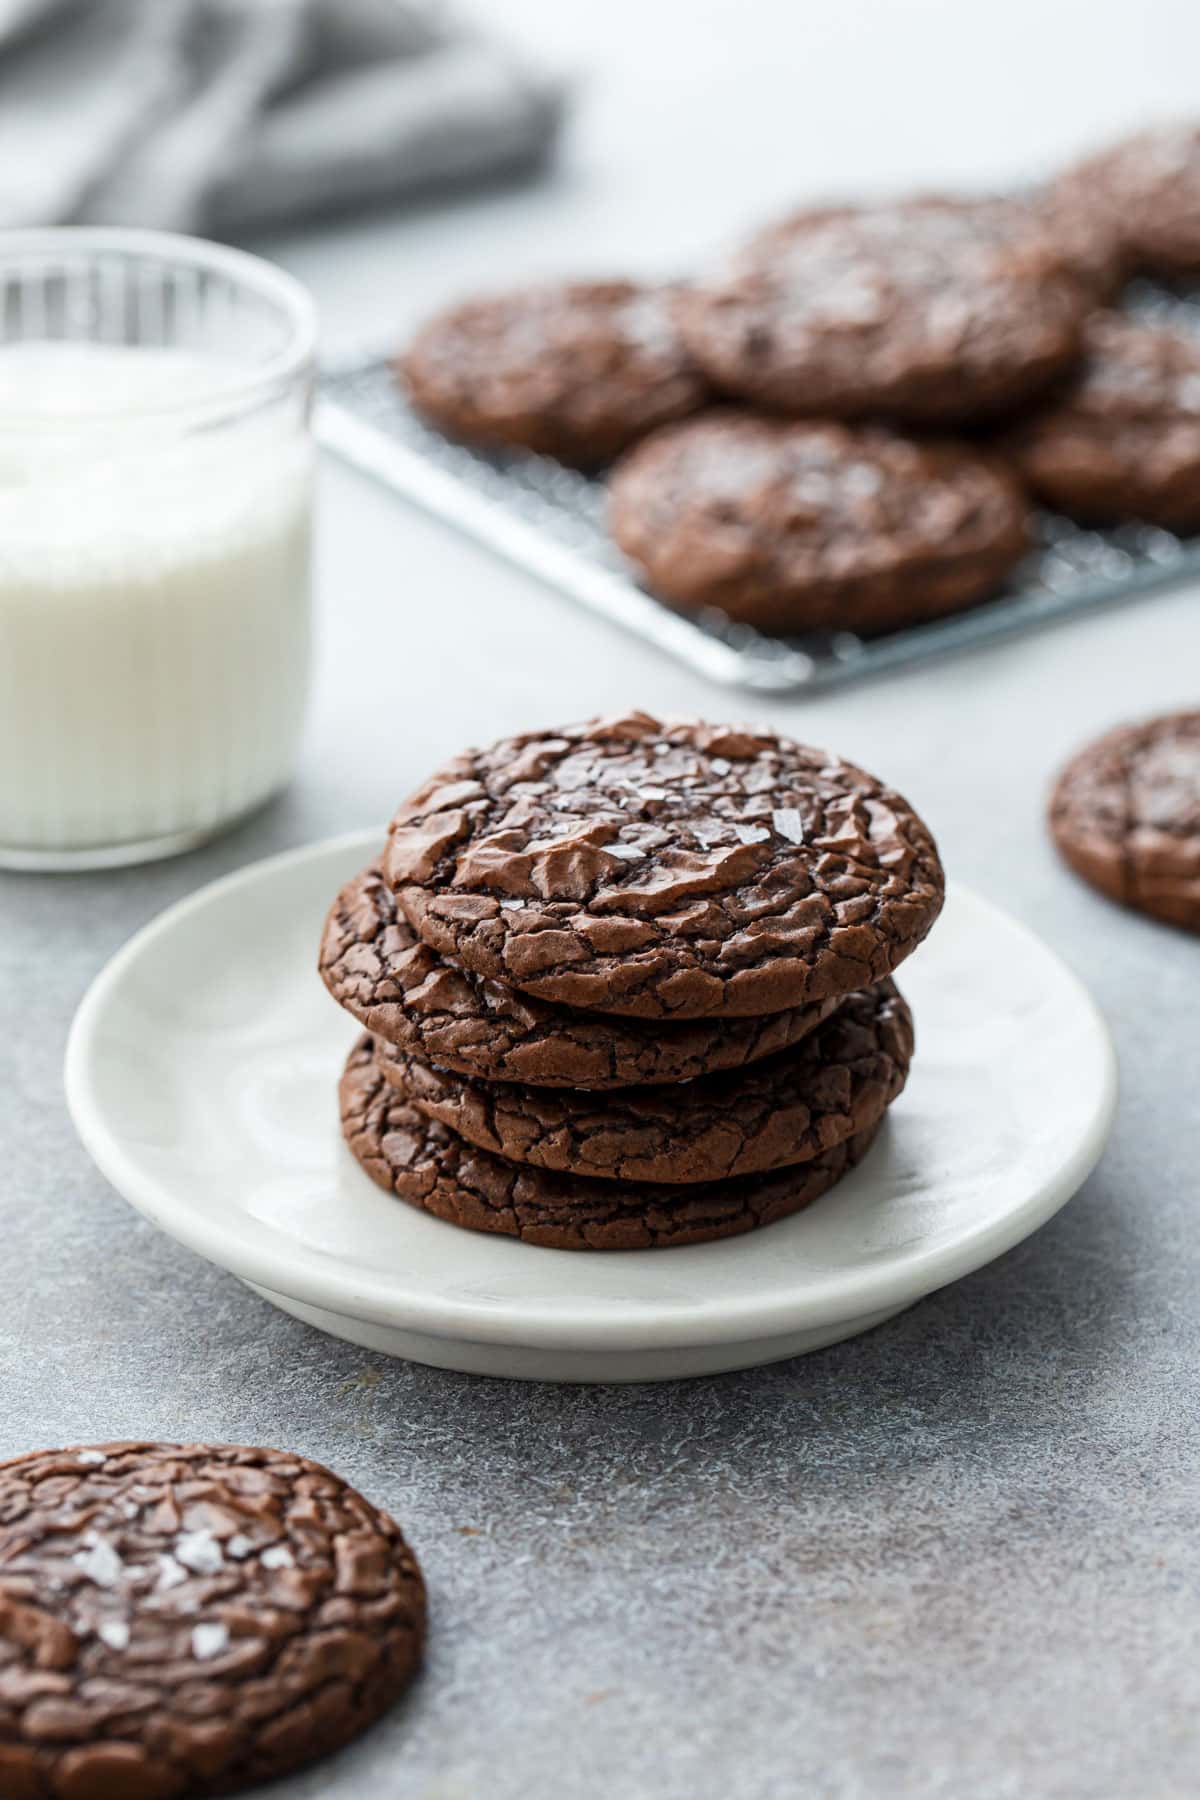
While you can opt to make larger cookies if you prefer, I like a smaller size (about 2.5-inches diameter). That paired with the soft texture makes them perfect sandwich cookies (might I suggest some mint chip ice cream?) though they are plenty satisfying on their own as well.
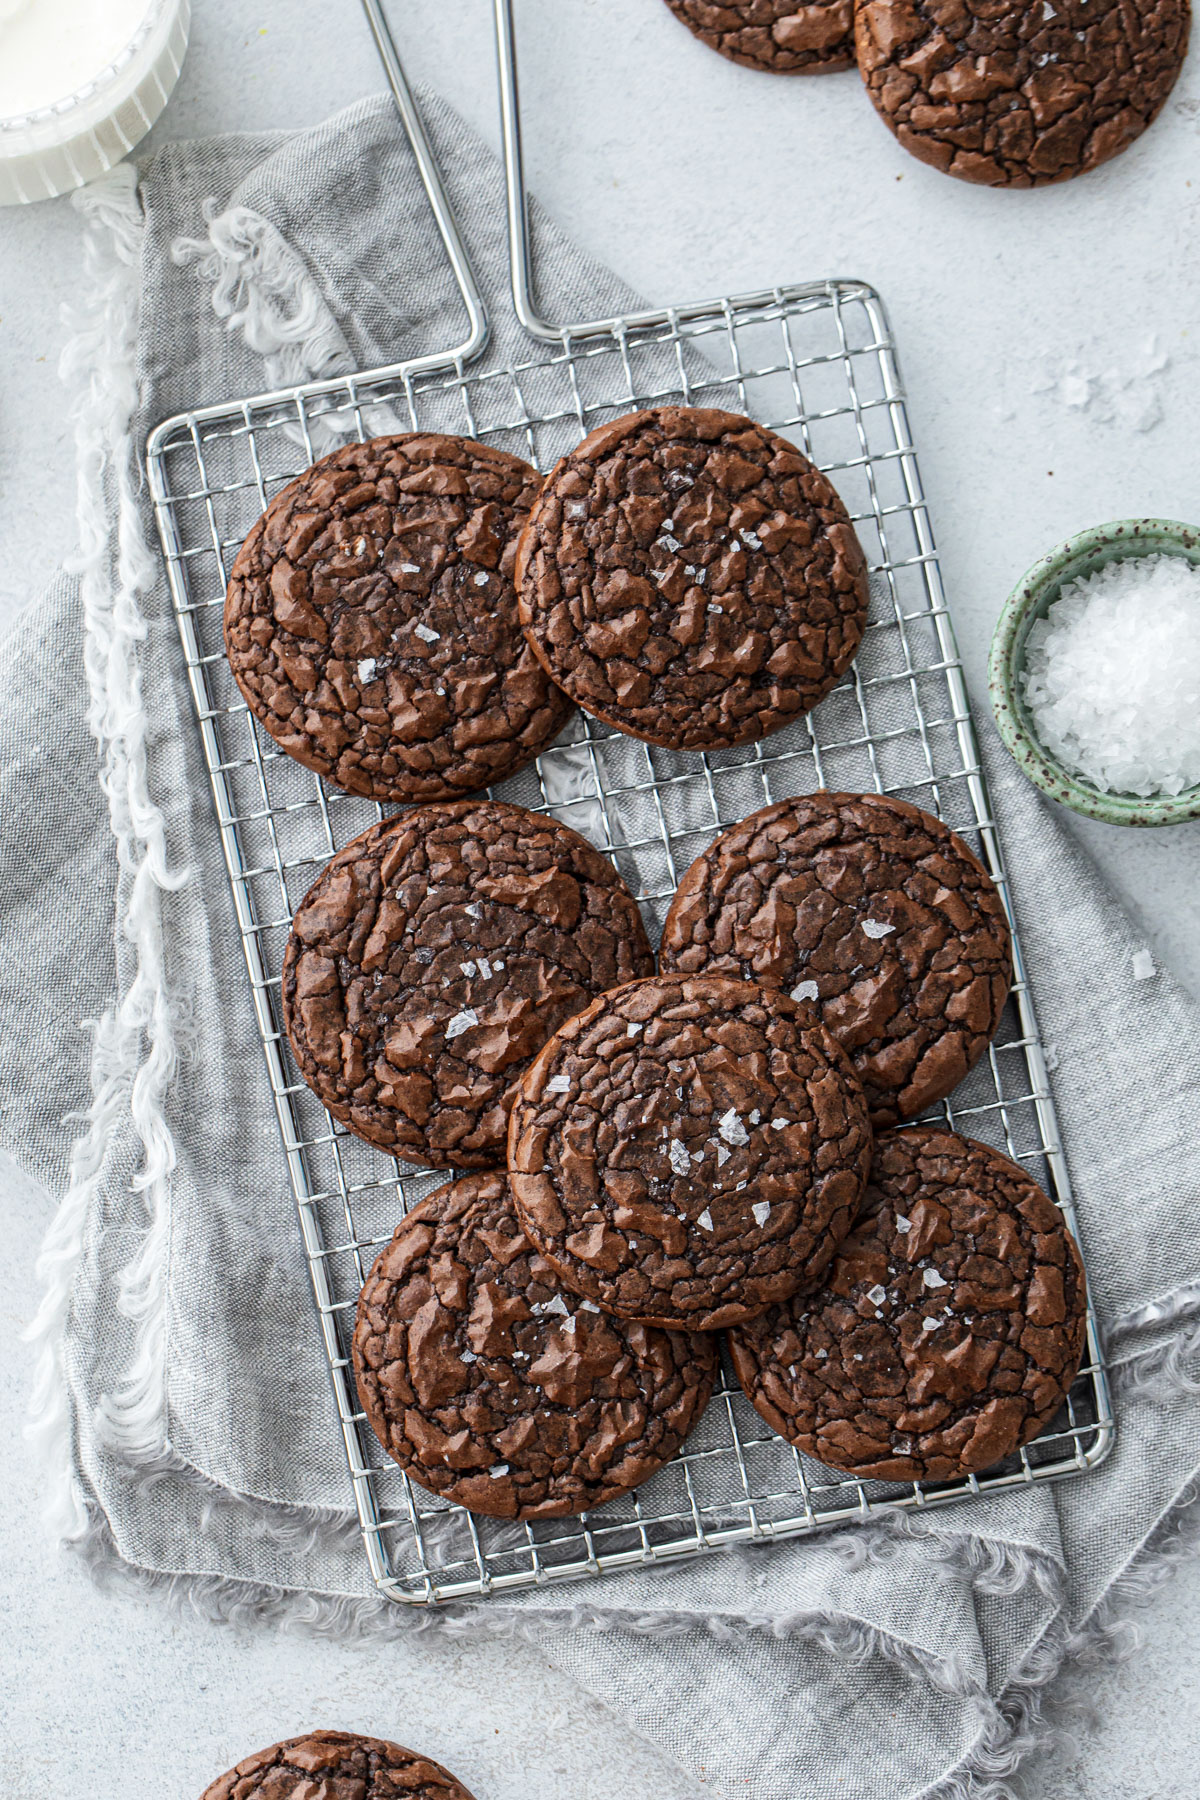
The recipe is similar to my chocolate raspberry sandwich cookies, with slightly tweaked proportions and ingredients to produce that shiny, crackly top that’s one of the signature features of perfect brownies.
The smaller size and flat shape, not to mention the soft and chewy texture, make them an excellent base for cookie sandwiches. Might I suggest a rich chocolate ganache and jam filling, or maybe this pistachio white chocolate ganache (yes please!)
Or, better yet smash a scoop of homemade mint chip ice cream between two of these cookies and thank me later. The softness of these cookies makes them particularly suitable for ice cream sandwiches since the soft cookie won’t cause the ice cream to squish out when you bite it.
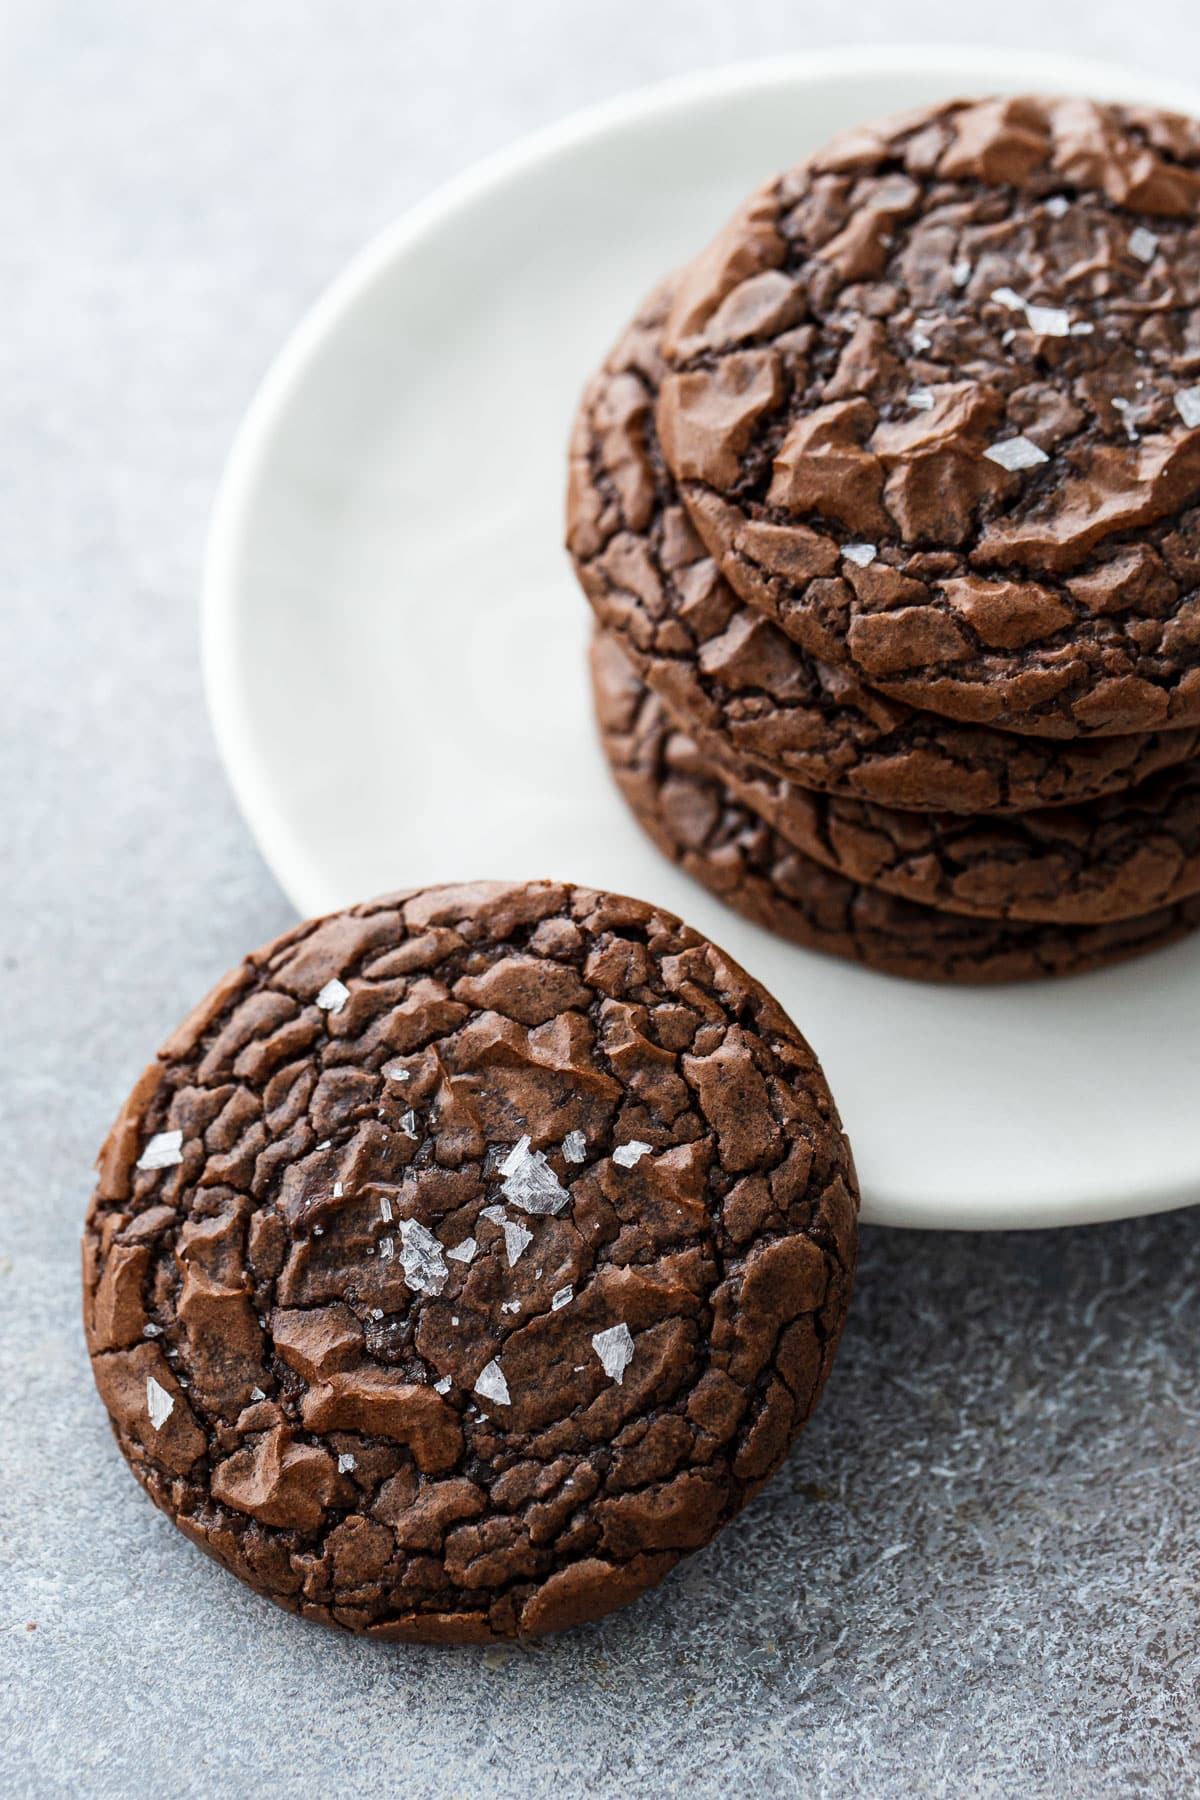
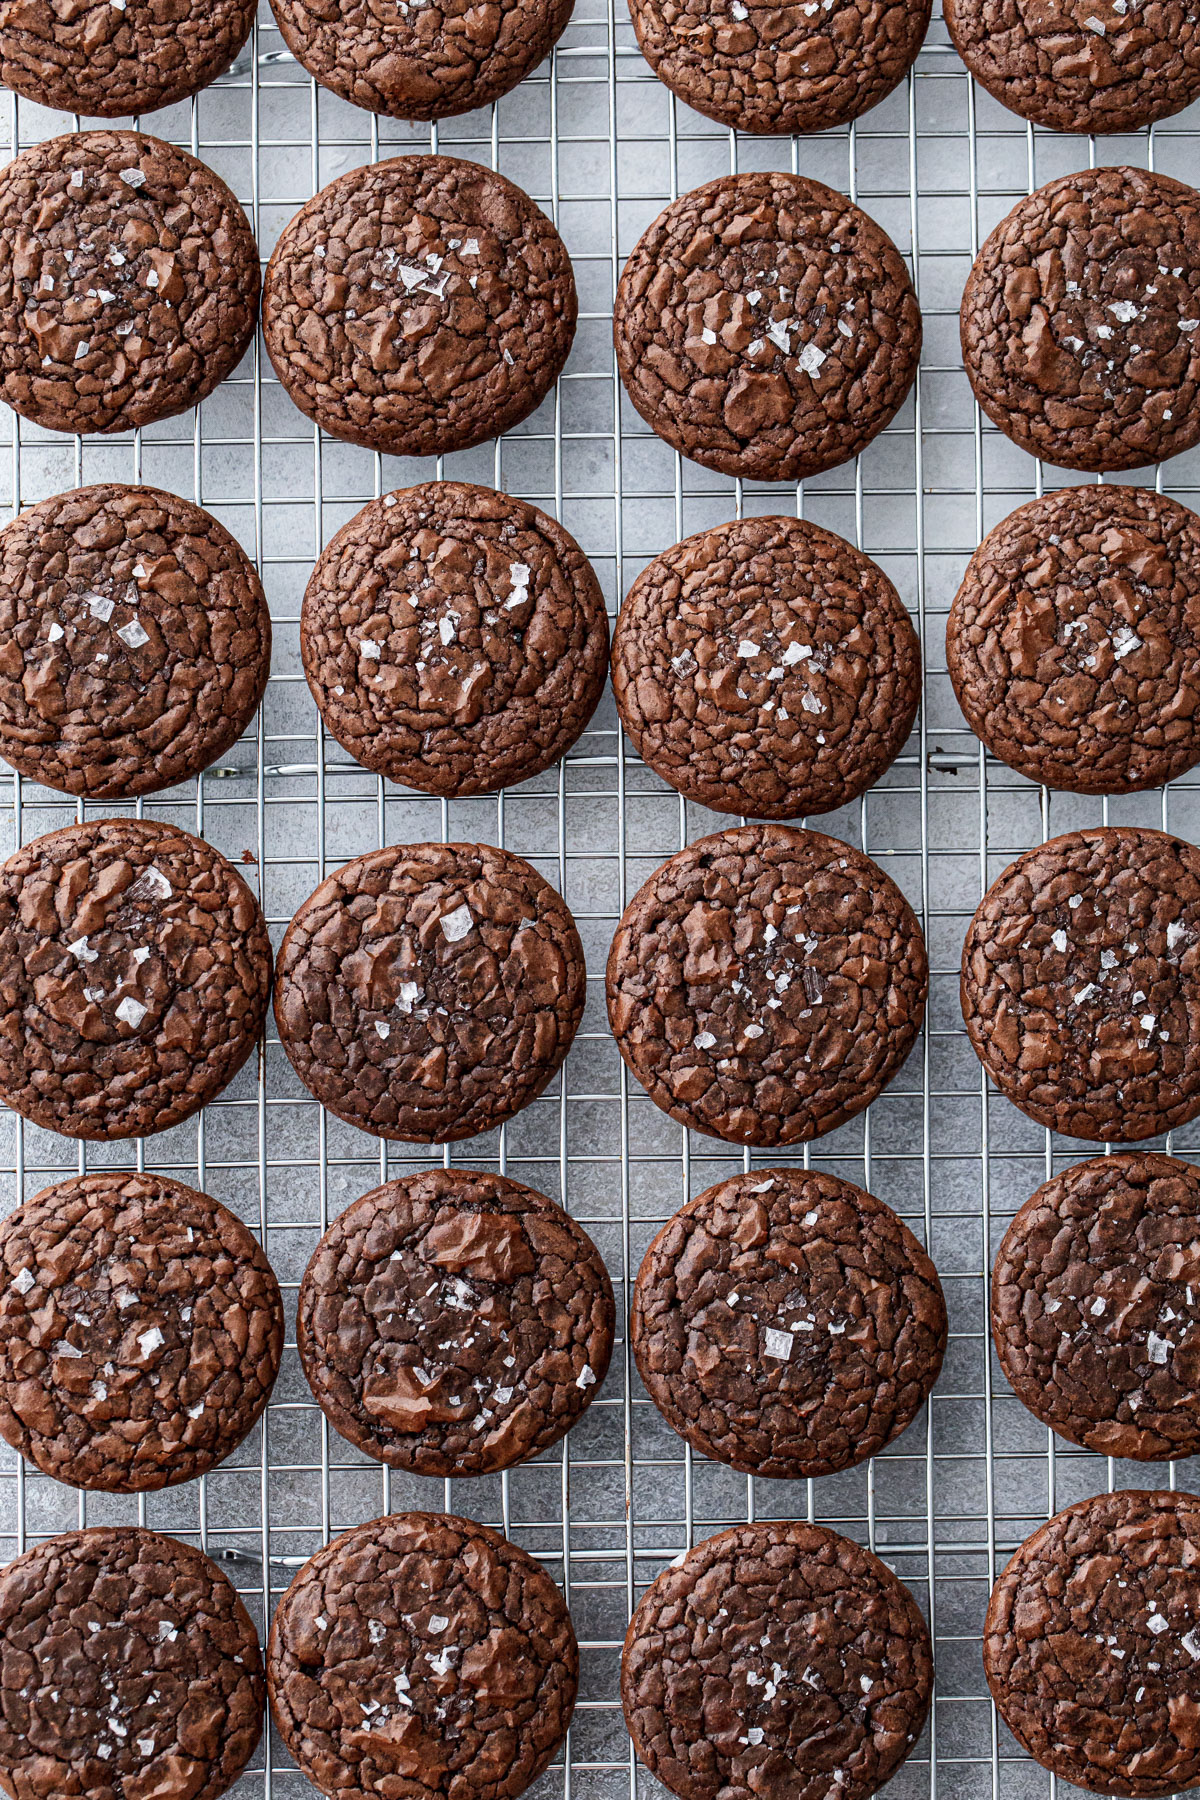
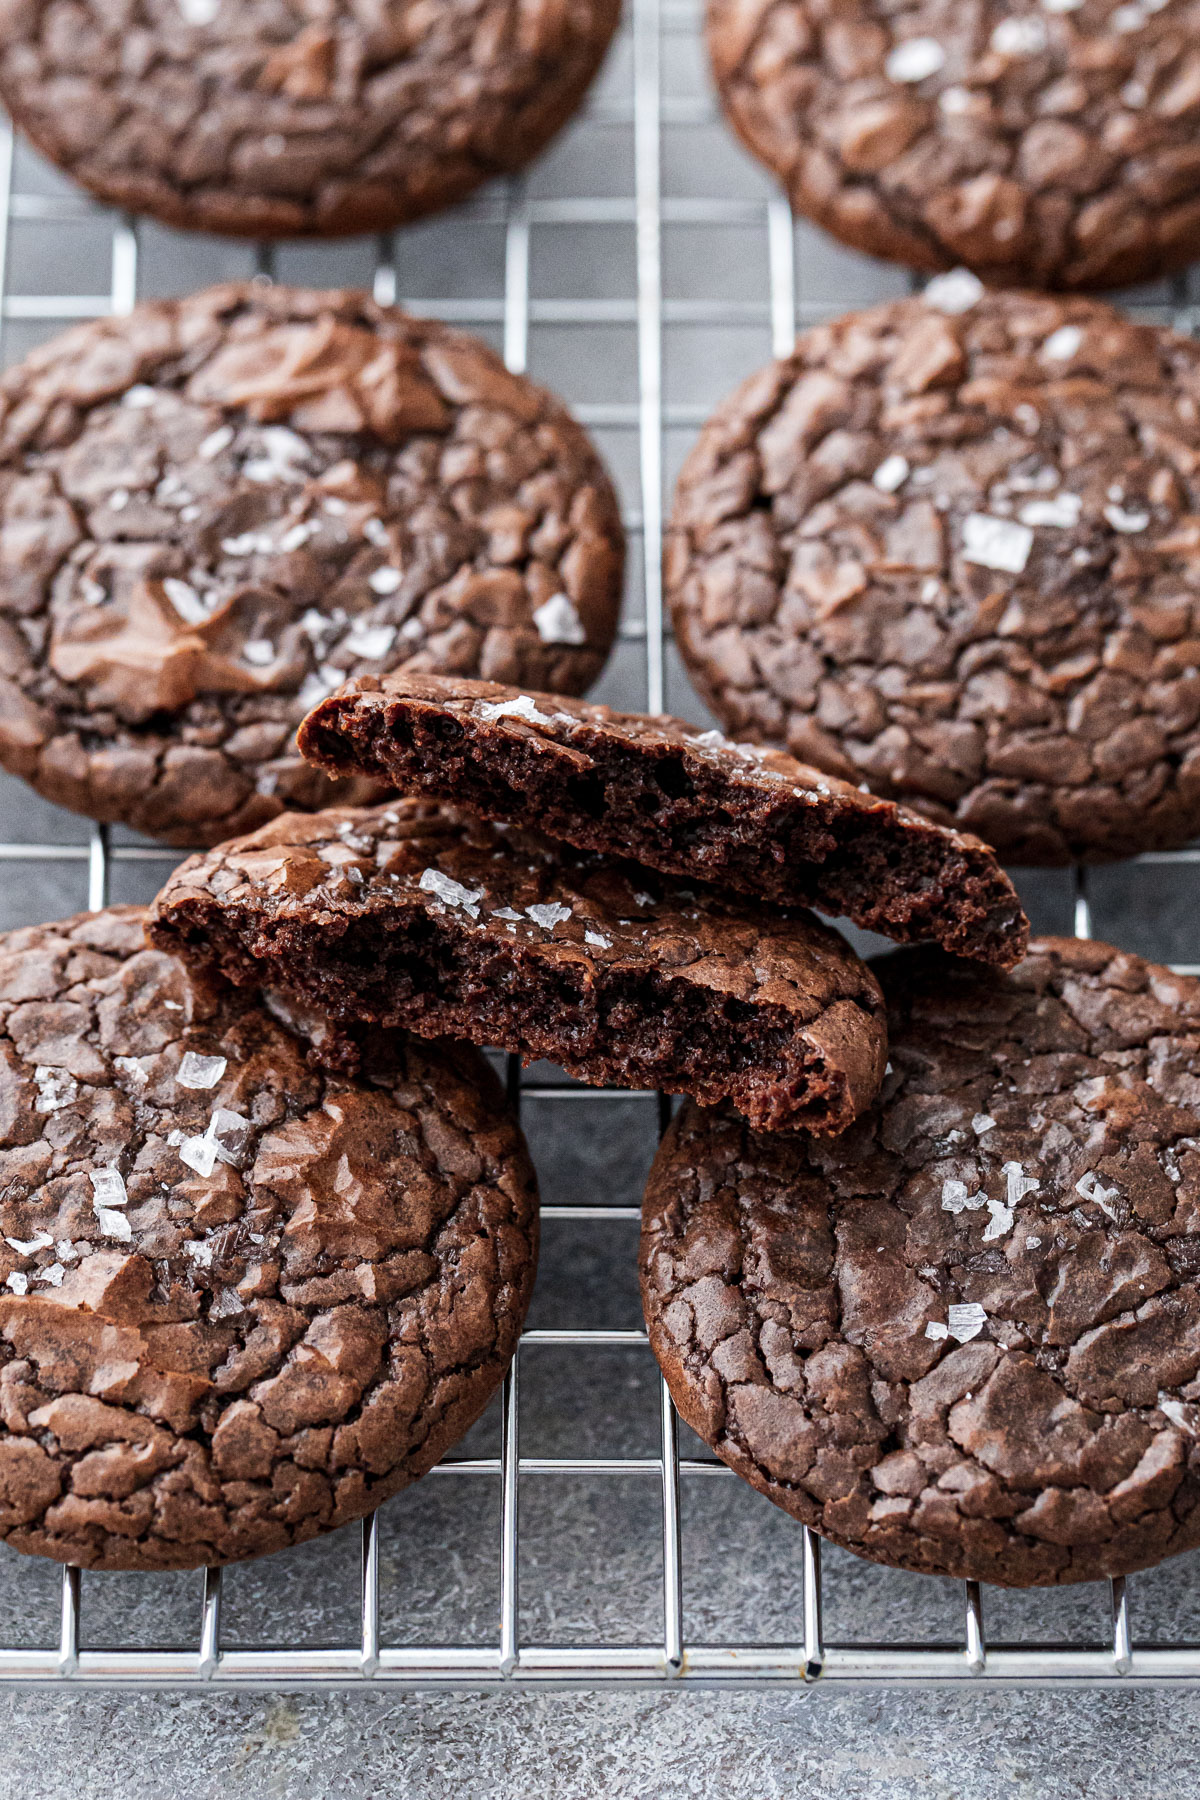
These cookies are rich and fudgy like a brownie, but thin and chewy like a cookie, with that iconic shiny, crackly crust that you expect from the perfect brownie. Not too sweet either, with a balanced sweetness that contrasts beautifully with the deep chocolate flavor and the flake salt on top.
Did you know: the shiny, crinkly crust on top of brownies is the result of dissolved sugar in the batter? Not beaten eggs like many recipes lead you to think.
To get the perfect paper-thin shiny crust, it’s important that your eggs be at room temperature (warmer liquids are better at dissolving sugar crystals), and that you add the melted chocolate mixture while it’s still warm (not hot, but not completely cooled either).
Additionally, you want to get the cookies in the oven quickly, as the longer the batter sits, the more it will set up, resulting in taller, mound-like cookies without the crackly tops.
These brownie cookies come together a bit differently than regular drop cookies, since the melted butter and chocolate-based batter is very soft (definitely more like brownie batter than cookie dough). You’ll need a small saucepan for melting the butter and chocolate, and then a mixing bowl or stand mixer to beat the eggs and sugar and mix the final batter together.
Rather than mixing the cocoa powder in with the dry ingredients as is common, here I’ve added it to the melted butter. This is known as “blooming” the cocoa and helps to deepen the chocolate flavor and produce a richer, fudgier cookie.
While I used an electric hand mixer to beat my eggs and sugar together until lightened, you can do this by hand, it’ll just be a bit of an arm workout. Use a whisk and beat the eggs and sugar vigorously until they lighten a shade or two (we don’t need to go to full ribbon stage or anything with this, luckily).
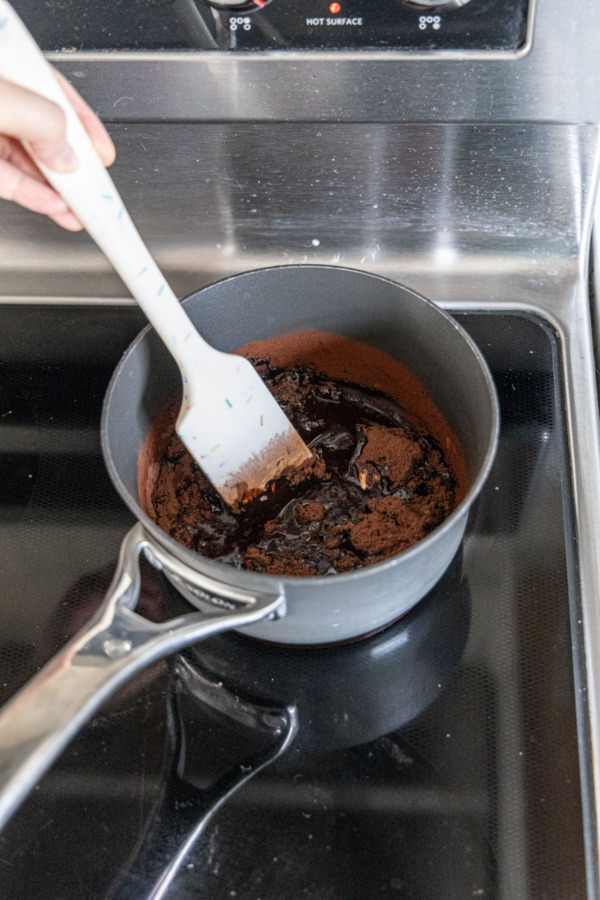 In a small saucepan, melt butter then add cocoa powder.
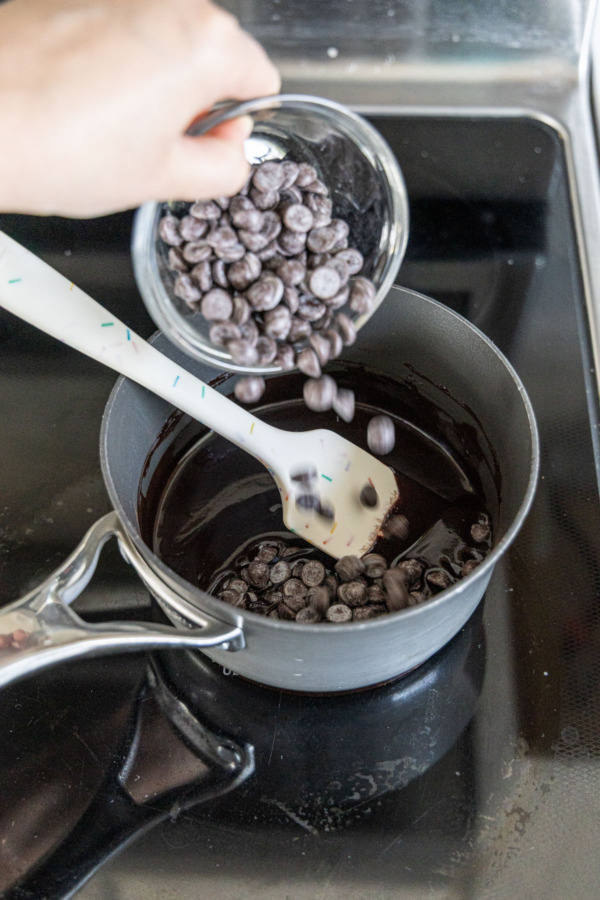 Remove from heat and add chocolate, the residual heat should be enough to melt the chocolate.
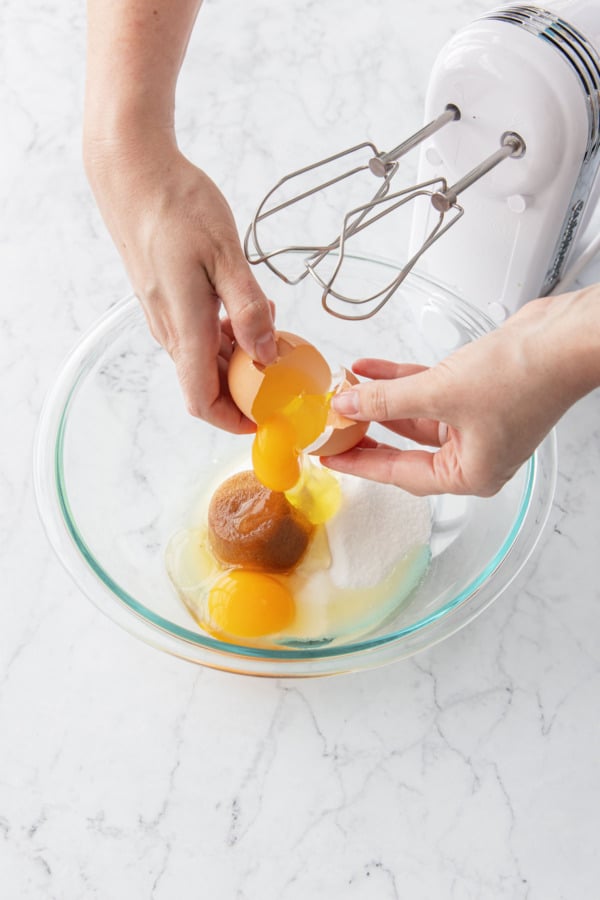 Combine sugar, brown sugar, and eggs in a mixing bowl.
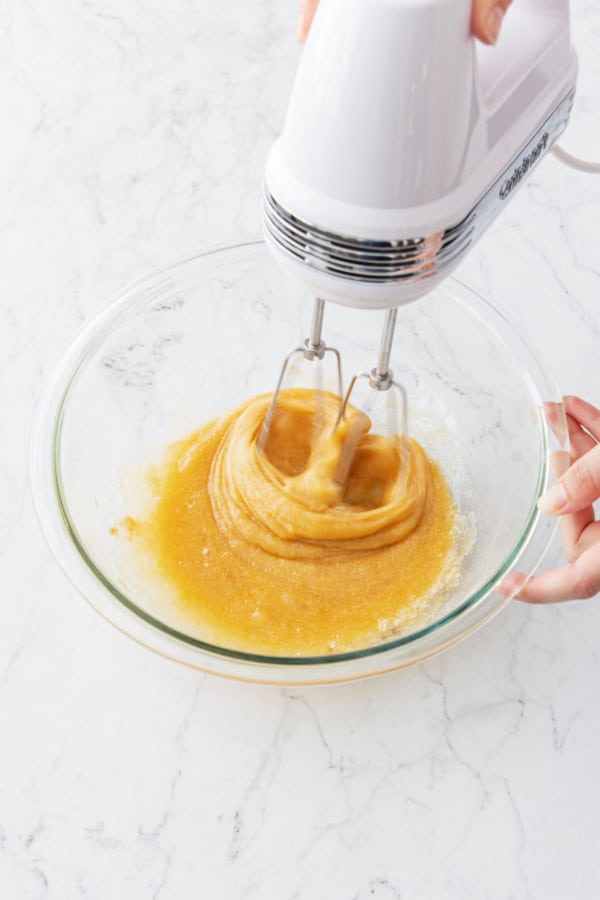 Beat eggs and sugar with an electric mixer on medium-high speed.
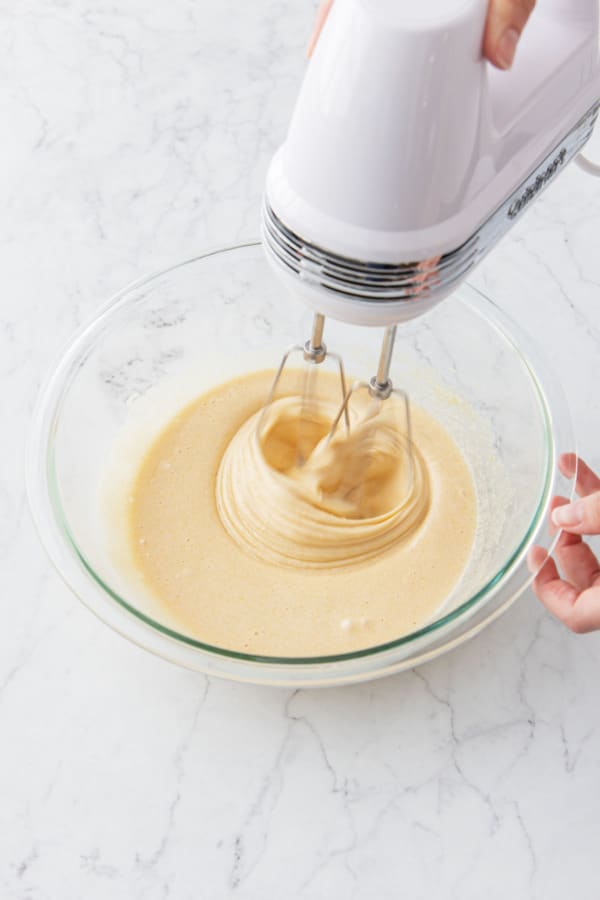 Beat for 2 to 3 minutes or until the color is a few shades lighter.
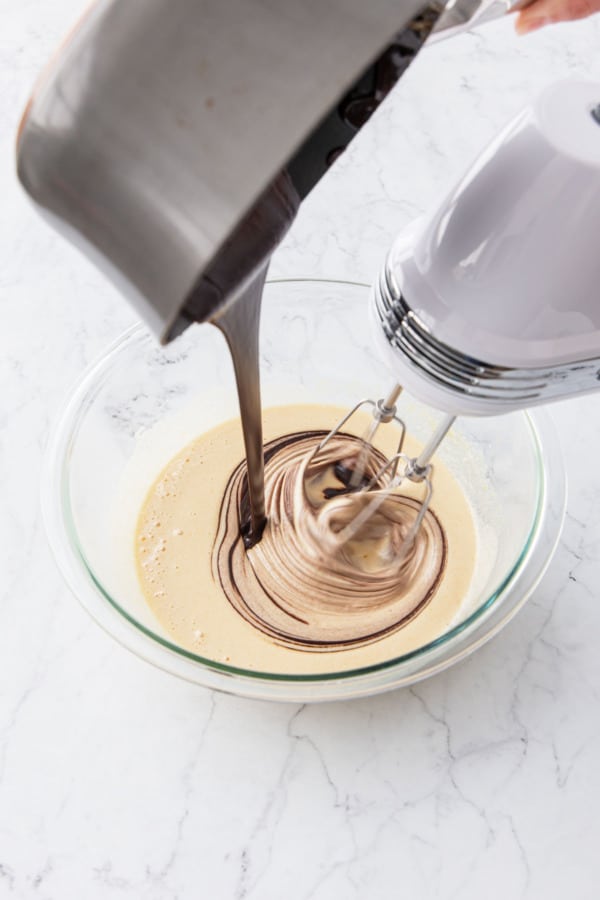 With the mixer on low, drizzle in the warm melted chocolate mixture until fully combined.
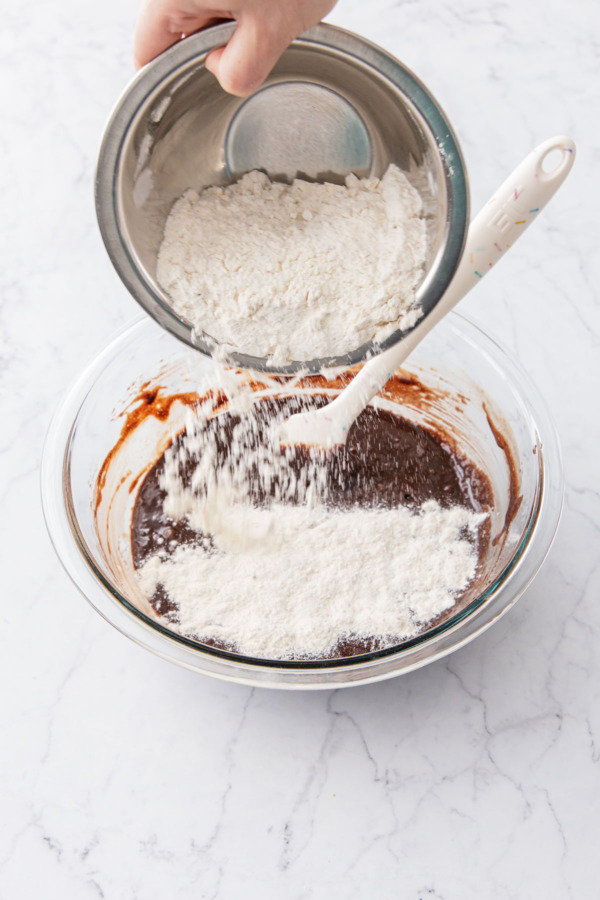 Add dry ingredients (flour, baking powder, salt, dry milk, and espresso powder).
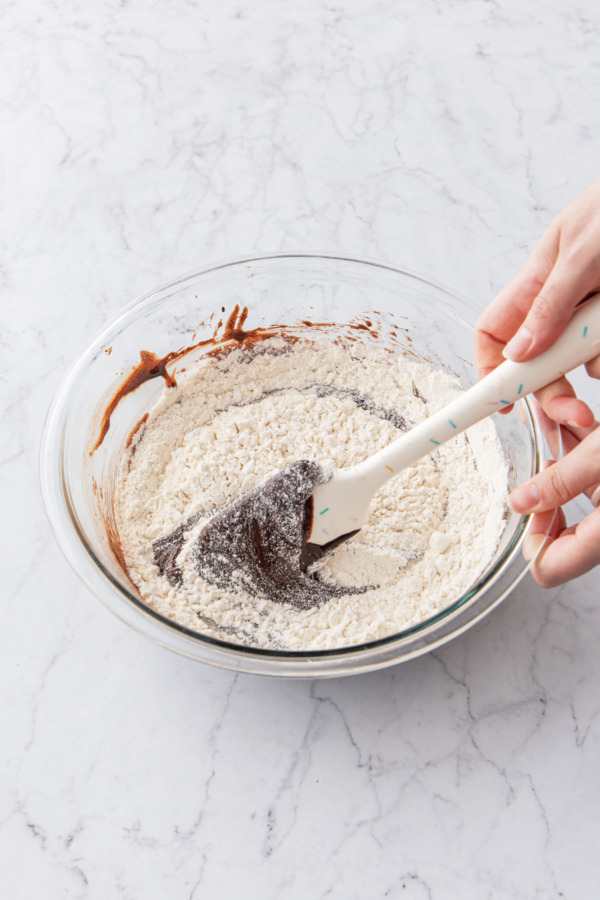 Fold in the dry ingredients with a spatula or with the mixer on low until they are just incorporated.
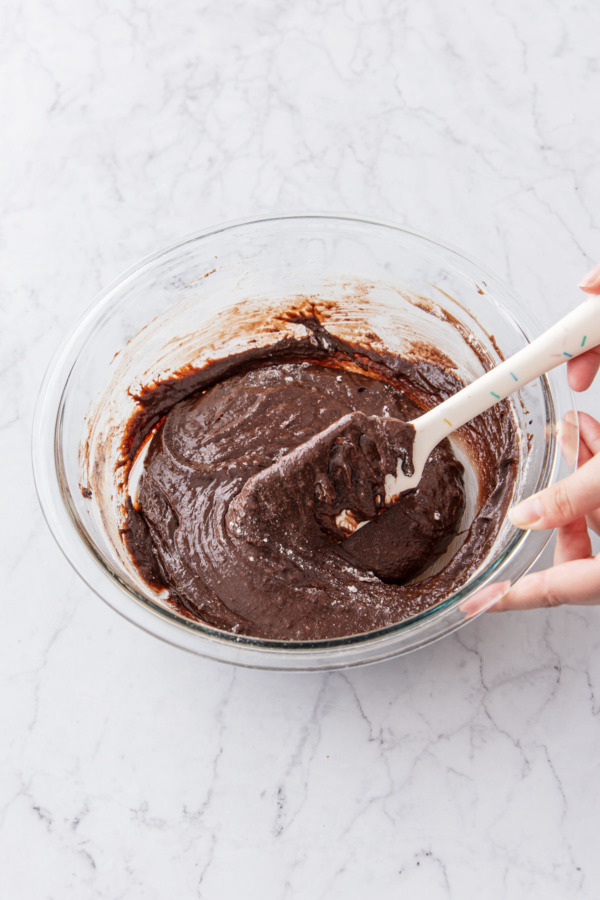 Scrape the bottom and sides of the bowl until no streaks of white flour remain.
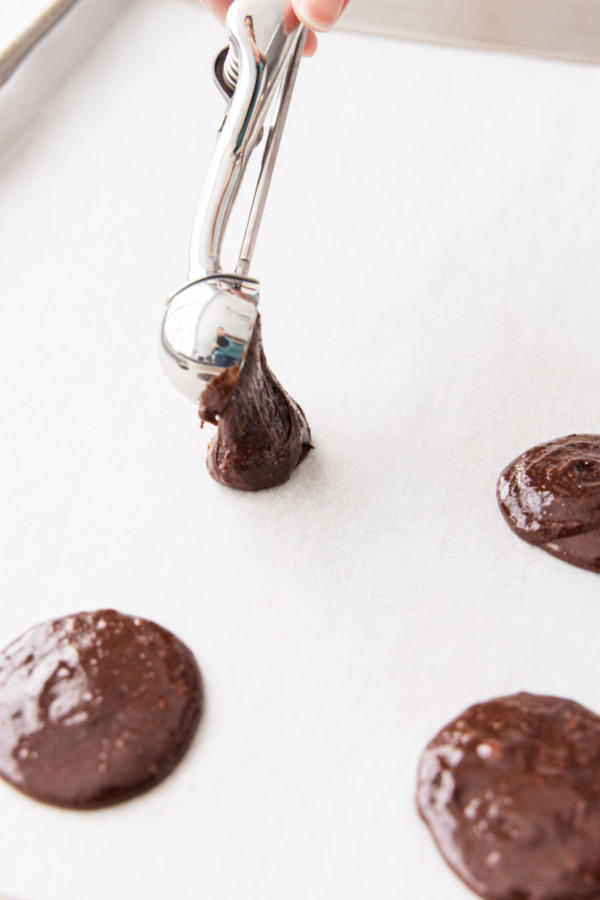 Drop small scoops of batter onto parchment-lined baking sheets, leaving 2-3 inches of space between them.
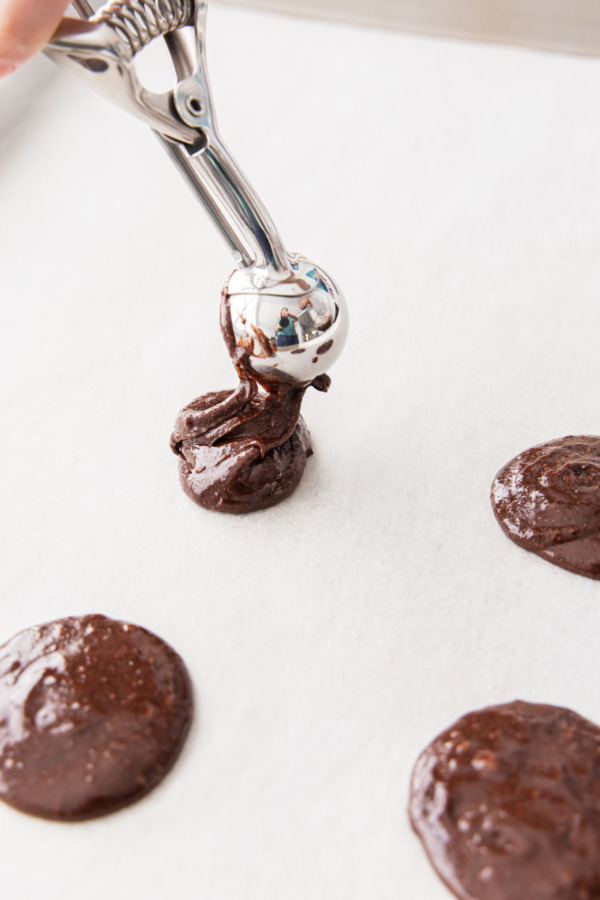 I find that twisting the cookie scoop as I release it helps the cookies stay circular rather than oval.
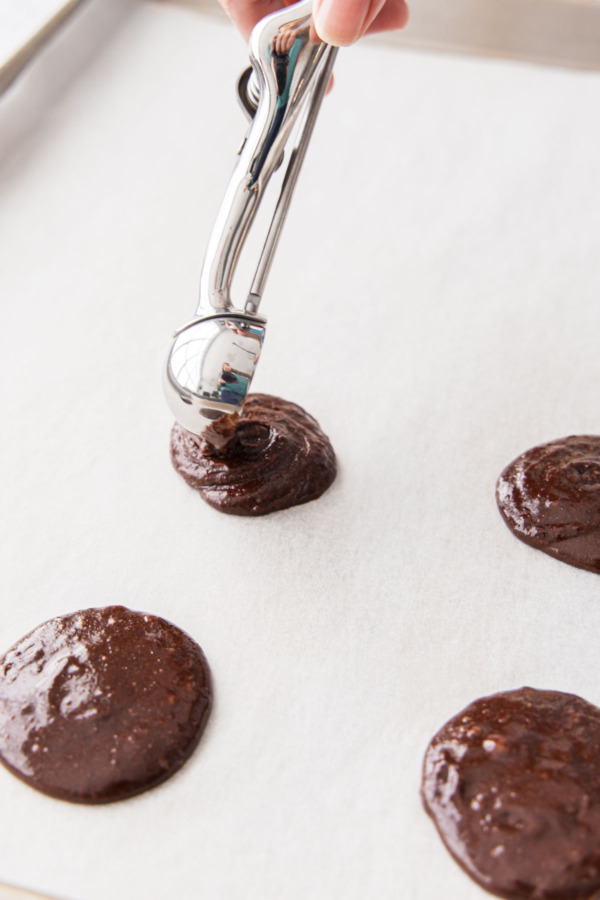 The dough will be very soft (like brownie batter) and will soften into rounds.
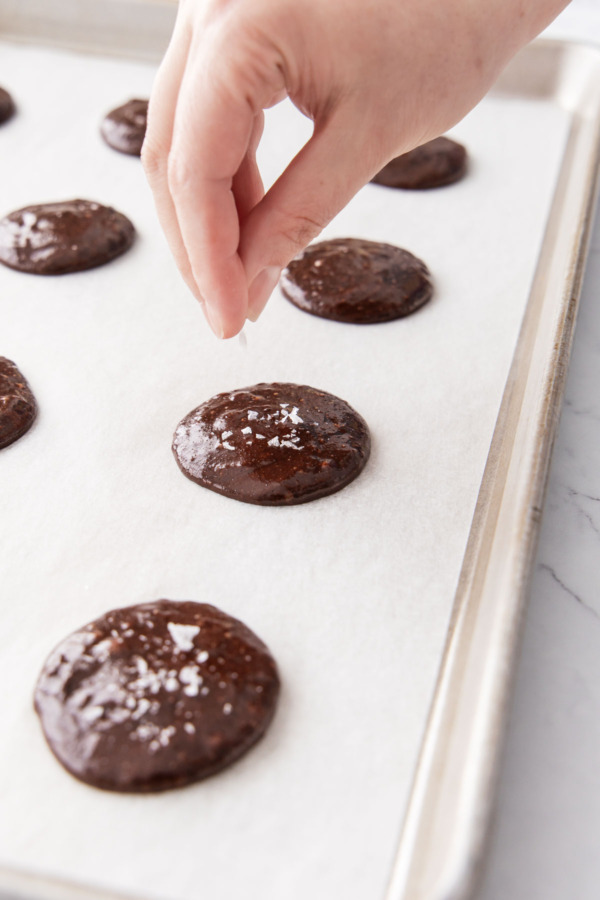 Before baking, sprinkle tops of cookies with flake sea salt if desired.
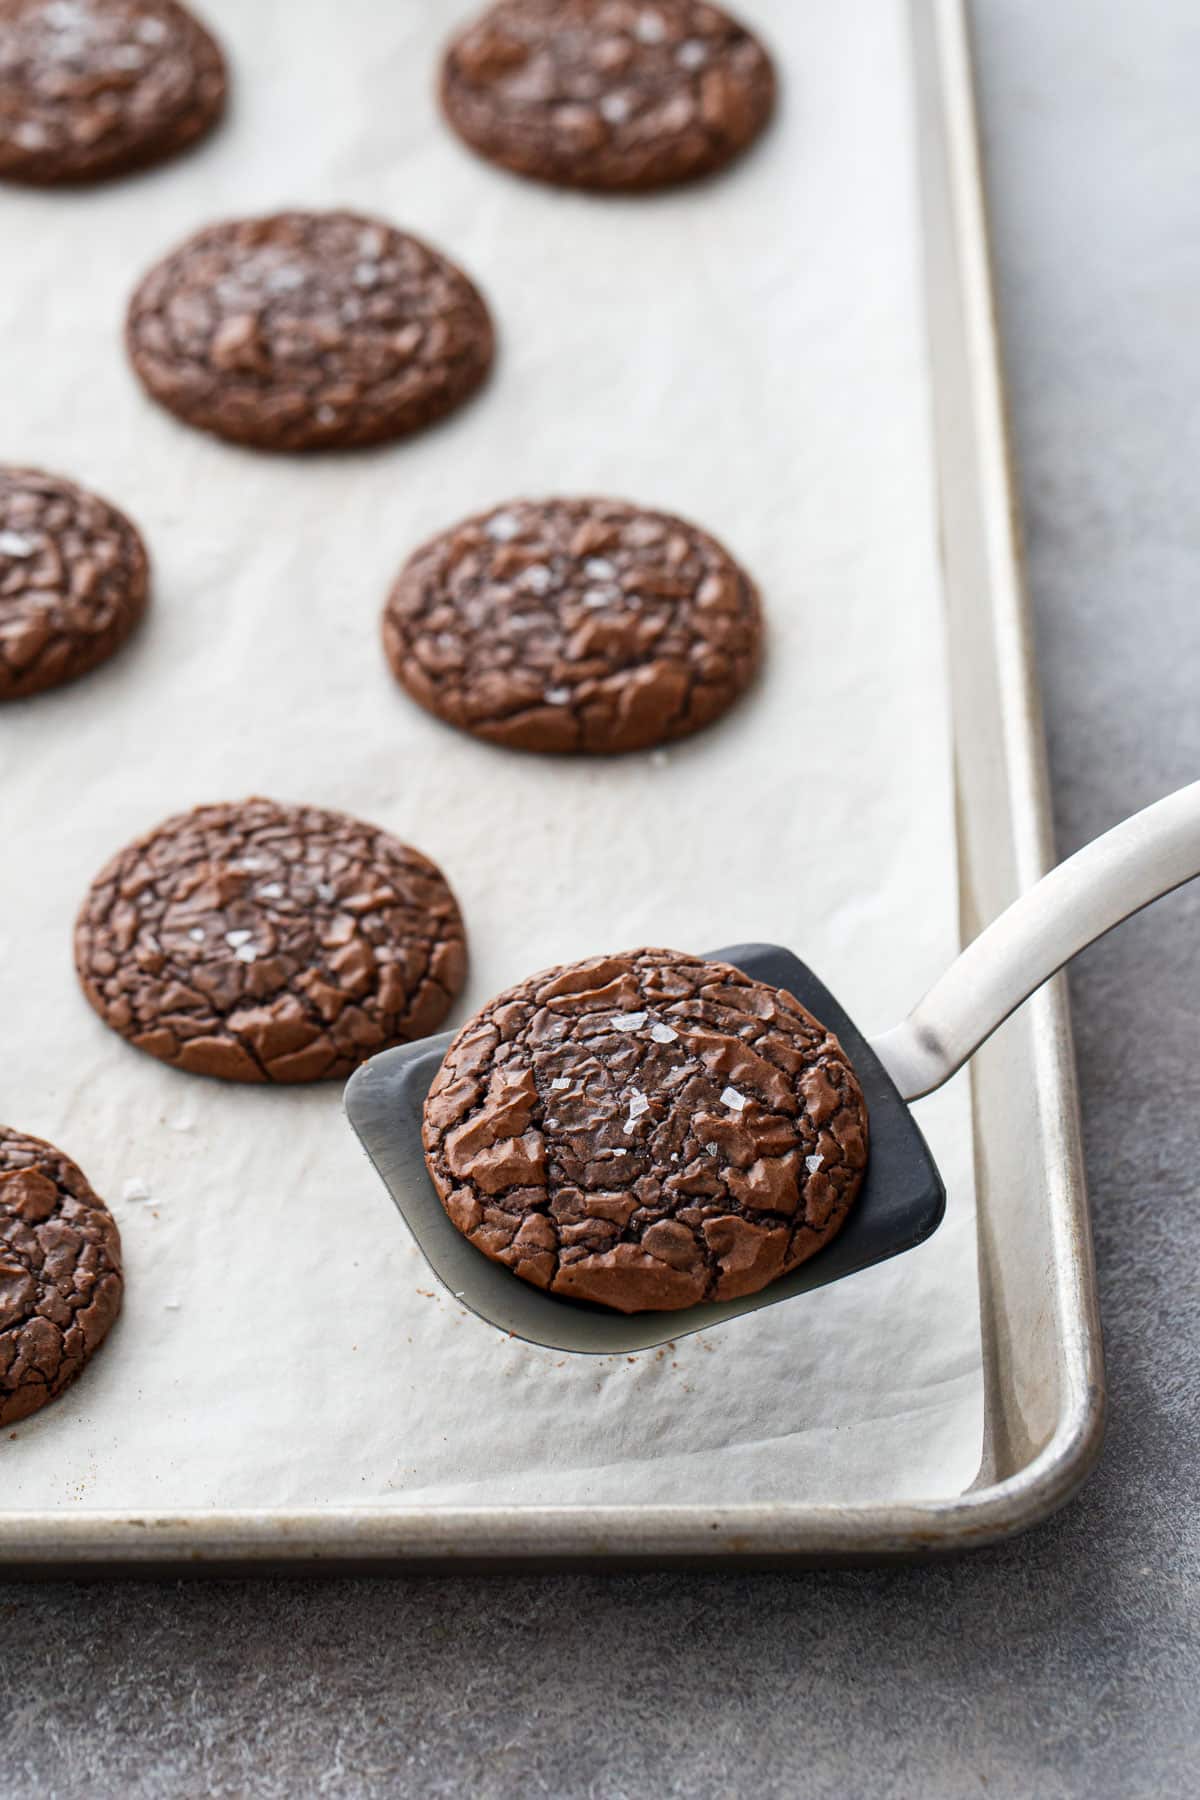
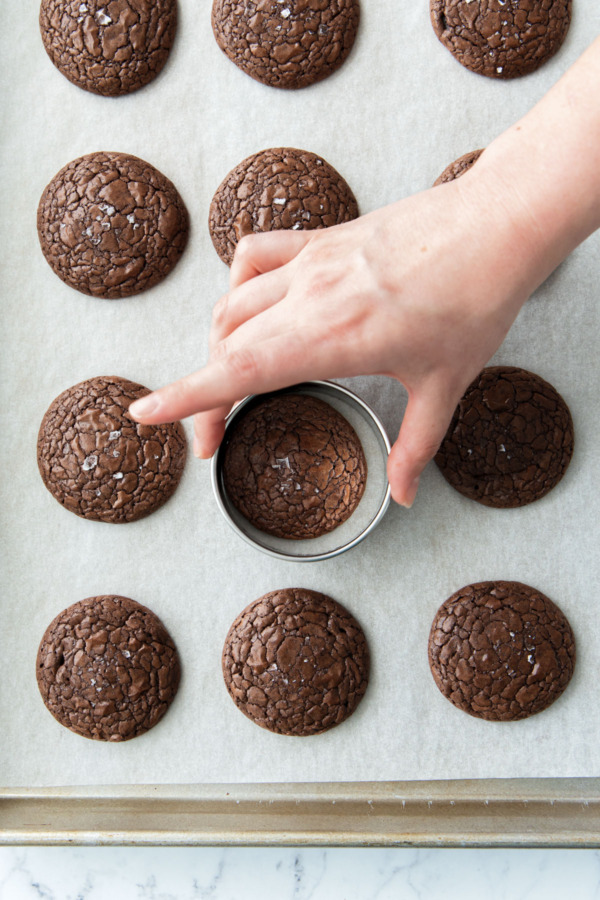 After baking, swirling a round cookie cutter around each still-warm cookie to perfect the round shape.
I used a small #70 cookie scoop for these guys, about 17-19g of batter or about a tablespoon per cookie. This results in delightfully (or dangerously, lol) poppable 2.5-inch cookies. If you want larger cookies just adjust the cooking time accordingly.
The soft batter does make it a bit hard to get perfect circular cookies, even using a cookie scoop. I find it helpful to rotate the cookie scoop as you release the batter onto the pan, then give the top a bit of a swirl, which makes the batter dollops more circular and less oval.
Additionally, have a 3 or 3.5-inch round cookie cutter ready, and when the cookies come out of the oven, give them a good swirl with the cookie cutter. This tucks in the uneven sides and makes for perfectly round, photo-worthy cookies.
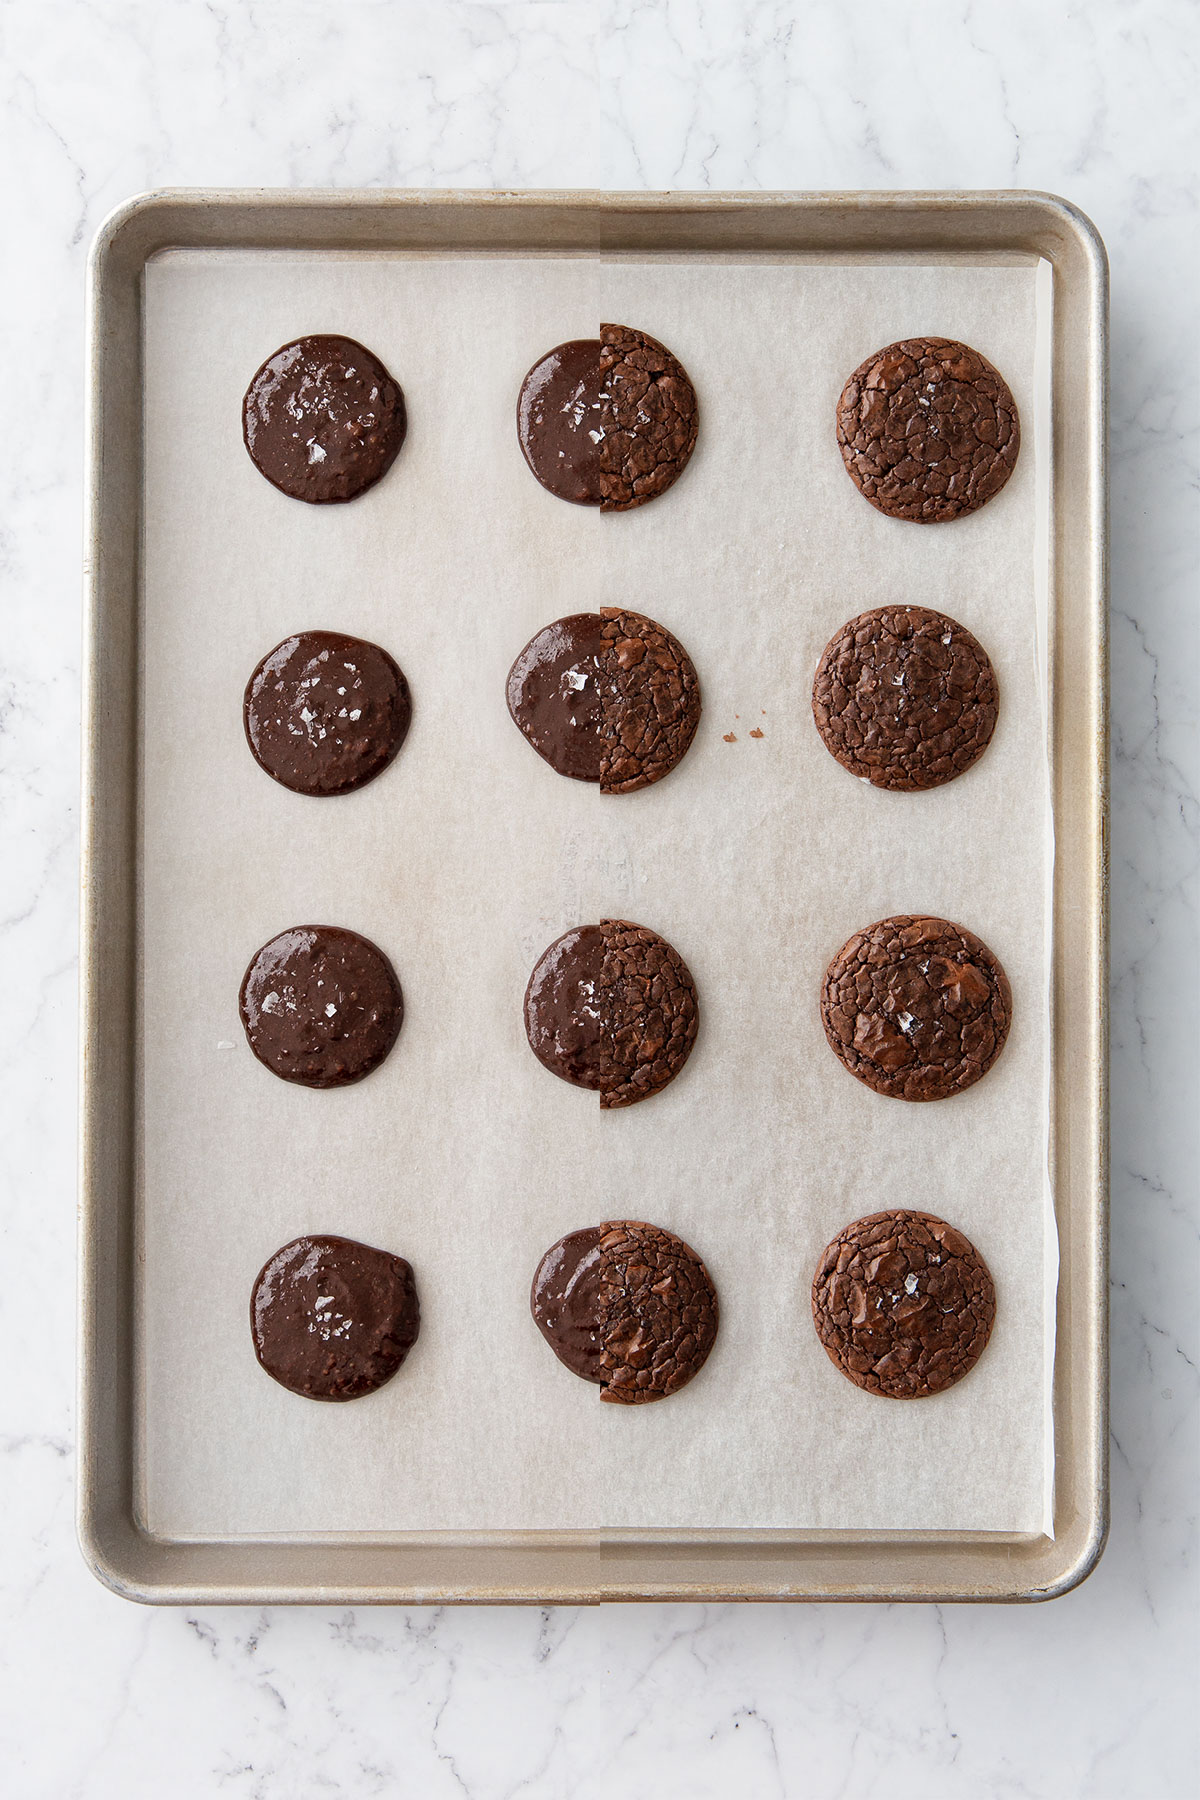
Timing is Everything!
It’s important to get these cookies into the oven quickly, ideally no more than 15 minutes from when you finish the batter to when they go into the oven. Any longer than that and the cookies lose their shiny, crackly top, and will have more of an uneven, mound-like shape.
I prepare 3 cookie sheets ahead of time (lined with parchment paper), and bake two of them simultaneously in the same oven (or two ovens if you have them). I scoop the third sheet right away while the dough is still soft (allowing the cookies to slump into soft rounds rather than balls), so it’s ready the minute the first tray of cookies comes out of the oven.
It’s because of this time sensitivity that I also advise against doubling this recipe. If you need to make a bigger quantity, prepare each batch separately so the dough is fresh each time.
Ingredient Notes & Substitutions
Cocoa Powder: I used Dutch process cocoa in this recipe, Valrhona specifically, but Cacao Barry extra brute is another good option. Hershey’s Special Dark is one that’s usually available in supermarkets and will work in a pinch. I do not recommend using natural cocoa in this recipe.
Chocolate: I used a Callebaut semisweet (54%) chocolate callets, which is a high quality coverture chocolate but conveniently already in chip-shape so no chopping is needed. If you use a chocolate bar, cut it into pea-sized pieces before you begin to ensure it melts quickly and evenly.
Espresso Powder: Optional, but instant espresso powder really does wonders to deepen and enhance the chocolate flavor. It’s only a small amount though, so the cookies themselves don’t have a noticeable coffee flavor.
Milk Powder: Optional, but it really helps hold moisture and round out the chocolate flavor. I used whole dry milk powder, but nonfat milk powder is easy to come by in most supermarkets and will work fine too.
Flour: You’ll notice the recipe calls for a scant 1 cup; that’s 120 grams of flour (my standard measurement for 1 cup of flour is 125g). This is a very important distinction, as even an extra tablespoon or two of flour will make for taller, more ball-shaped cookies than flat and shiny ones. This is a perfect time to break out that kitchen scale!
Chewy Crinkle-Top Brownie Cookies
Prep Time: 20 minutes
Cook Time: 8 minutes
Total Time: 45 minutes
Everything you love about a chewy, fudgy brownie in cookie form, with paper-thin shiny, crinkly tops and a sprinkle of flaky sea salt for the perfect finish! Because of the time-sensitive nature of these cookies (see notes) I do not recommend doubling this recipe.
For Cookies:
▢ scant 1 cup / 120 g all-purpose flour▢ 1 tablespoon / g whole milk powder, optional▢ ½ teaspoon baking powder▢ ½ teaspoon instant espresso powder▢ ¼ teaspoon kosher salt▢ 6 tablespoons / 84 g unsalted butter , cut into cubes▢ 6 tablespoons / 33 g Dutch-process cocoa powder, sifted▢ 4 oz / 110 g good quality semisweet chocolate (50-60%), finely chopped▢ ¾ cup / 150 g granulated sugar▢ ¼ cup / 55 g packed brown sugar▢ 2 large eggs, at room temperature▢ 1 teaspoon vanilla extract▢ flaky sea salt, for toppingArrange oven racks in the lower and upper thirds of your oven (so you can bake two sheets at once), and/or preheat two ovens if you have them. Line three baking sheets with parchment paper.
Whisk together flour, milk powder, baking powder, salt and espresso powder in a bowl and set aside.
Gently melt butter in a saucepan over low heat. When it is mostly melted, add cocoa powder, and stir until smooth and no bits of unmelted butter or chunks of undissolved cocoa remain. Remove from heat and add chopped chocolate; the residual heat should be enough to melt it, but you can put it back on low heat briefly if necessary to fully melt the chocolate. Set aside to cool slightly.
Place eggs and sugars in a large mixing bowl or the bowl of a stand mixer fitted with the whisk attachment. Beat on medium-high speed until lightened in color, about 2 to 3 minutes.
Reduce mixer speed to low and drizzle in melted chocolate mixture, mixing until batter is uniform in color. Mix in vanilla. Add dry ingredients and mix on low speed or by hand until just incorporated, scraping the sides and bottom of the bowl to ensure there aren't any streaks of flour remaining.
Using a small cookie scoop (about 18-20g, or 1 tablespoon-ish of dough per cookie) drop dollops of dough onto prepared baking sheets, leaving at least 2 inches of space between them. The dough will be very soft (think brownie batter consistency), and will slump into fairly flat rounds. Ideally you want to get all your cookies scooped and into the oven within 15 minutes (if the batter sits longer than that the cookies won't have the same uniform flat shape or the crinkly, shiny top).
Sprinkle tops of cookies with flake sea salt, if desired, then bake for about 8 minutes or until tops are shiny and crackly in appearance.
Remove from oven and immediately swirl a round cookie cutter (slightly larger than the diameter of the cookie) around each still-soft cookie to tuck in any rough edges and perfect the circular shape. Let cool on sheets for 10 minutes, then transfer to a wire rack to cool completely.
Cookies will keep, refrigerated in an airtight container, for up to one week, or frozen in a zip-top bag for up to 2 months.
All images and text ©
for Love & Olive Oil.
Let us know what you think! Leave a Review below or share a photo and tag me on Instagram with the hashtag #loveandoliveoil.
There may be affiliate links in this post. We are a participant in the Amazon Services LLC Associates Program, an affiliate advertising program designed to provide a means for us to earn fees by linking to Amazon.com and affiliated sites.